
Melting and pouring Aluminum has been a pleasant recurring event here. The latest incarnation is a propane powered beast that performed much better than the previous coal-fired and electric versions.
Category Archives: Uncategorized
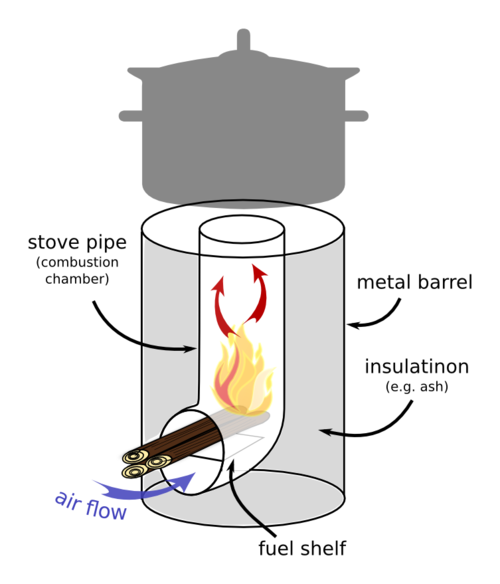
Rocket Stove Pic
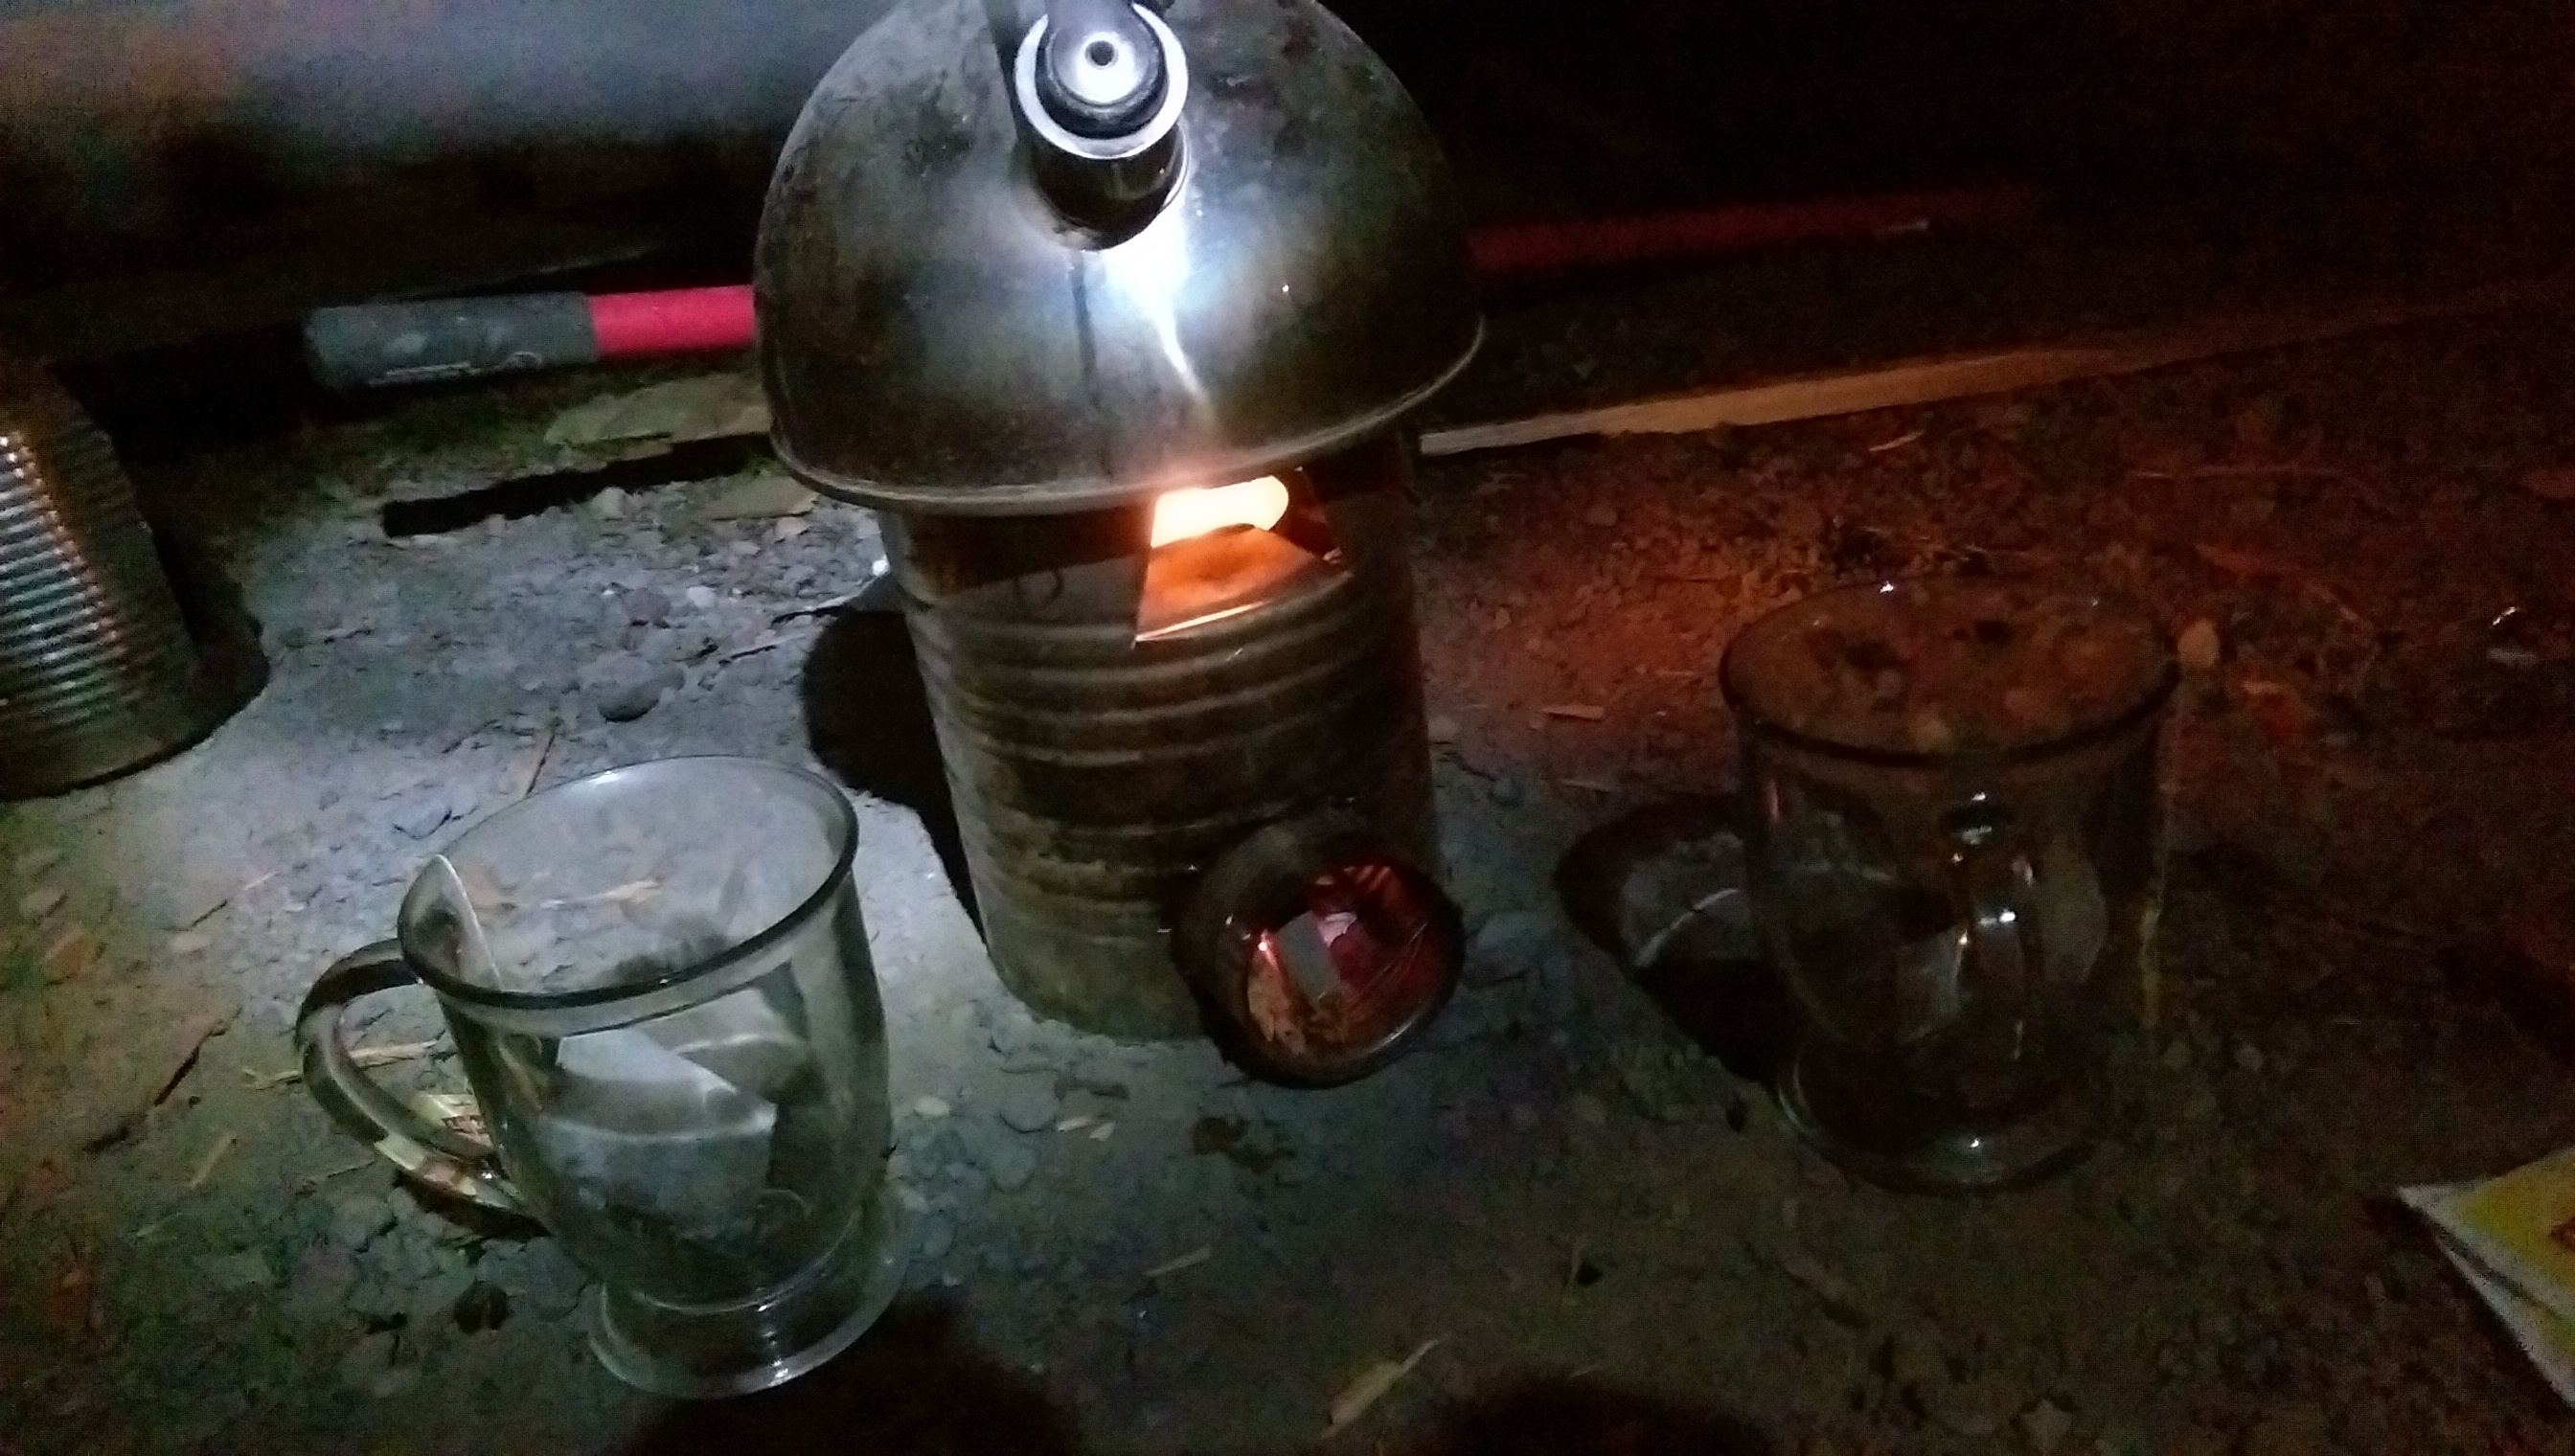
I thought I’d Show you a pic of my Rocket Stove, Me and Kelie worked on a little while ago.
It boiled the water really fast!
Utah Code Camp this Saturday
For those of you interested in programming, this Saturday, April 16th, is Utah’s annual Code Camp. It’s a free, day-long convention with sessions on a lot of programming-related topics. They even have some sessions on Arduino, and some kid-oriented sessions. A free lunch is provided, and the whole thing is sponsored by local software businesses.
You need to register and RSVP if you plan to go, since they need a head count for lunches and swag bags. If you don’t register, you can probably still attend, but you’ll need to bring your own lunch. Visit http://www.utahgeekevents.com/, sign up, then click “Event Registration” and mark yourself as planning to attend.
Busy Night at the Makerspace
Last night we had a good turnout with many pockets of conversation about lots of topics, so I decided to do a quick periscope. See for yourself!
We have tons of fun, but the conversations that happen lead to all sorts of collaborations on interesting projects. Come down and join us.
3.14…
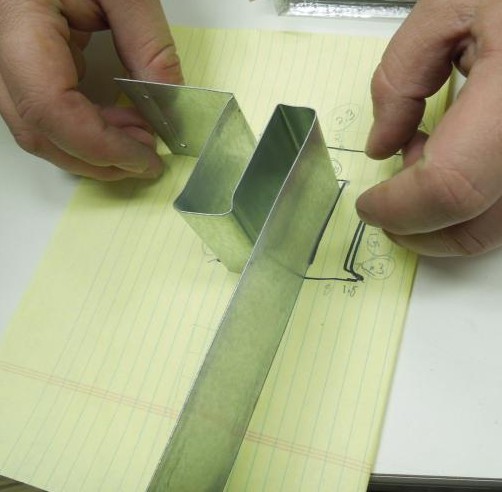
What better way to celebrate Pi day than to eat it? But what if you love cookies? Last Thursday we tried something new and fabricated a Pi shaped cookie cutter out of sheet metal.
The first step was converting the drawing to a file to be cut on the water jet, and making a metal version of the cookie, just because…

Next, we used the water jet to cut out a rectangle the right length, complete with rivet holes. We contemplated which order to make the bends so that the bends wouldn’t collide with the un-bent material, and we decided to start at the inside of the legs, and work our way around so the rivets would be along the top. After careful measuring on the model, we made the first few bends using a hand held sheet metal bender, and the larger vice mounted bender.
We made the last few bends, and after a bit of final adjustment the result was beautiful!
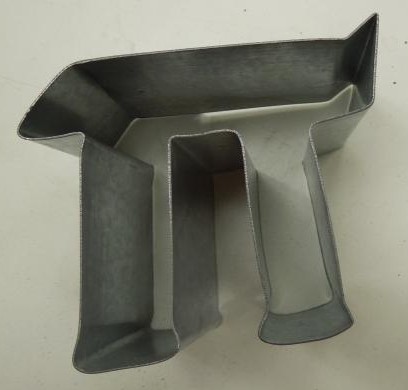
Happy Pi day from ProVolt!
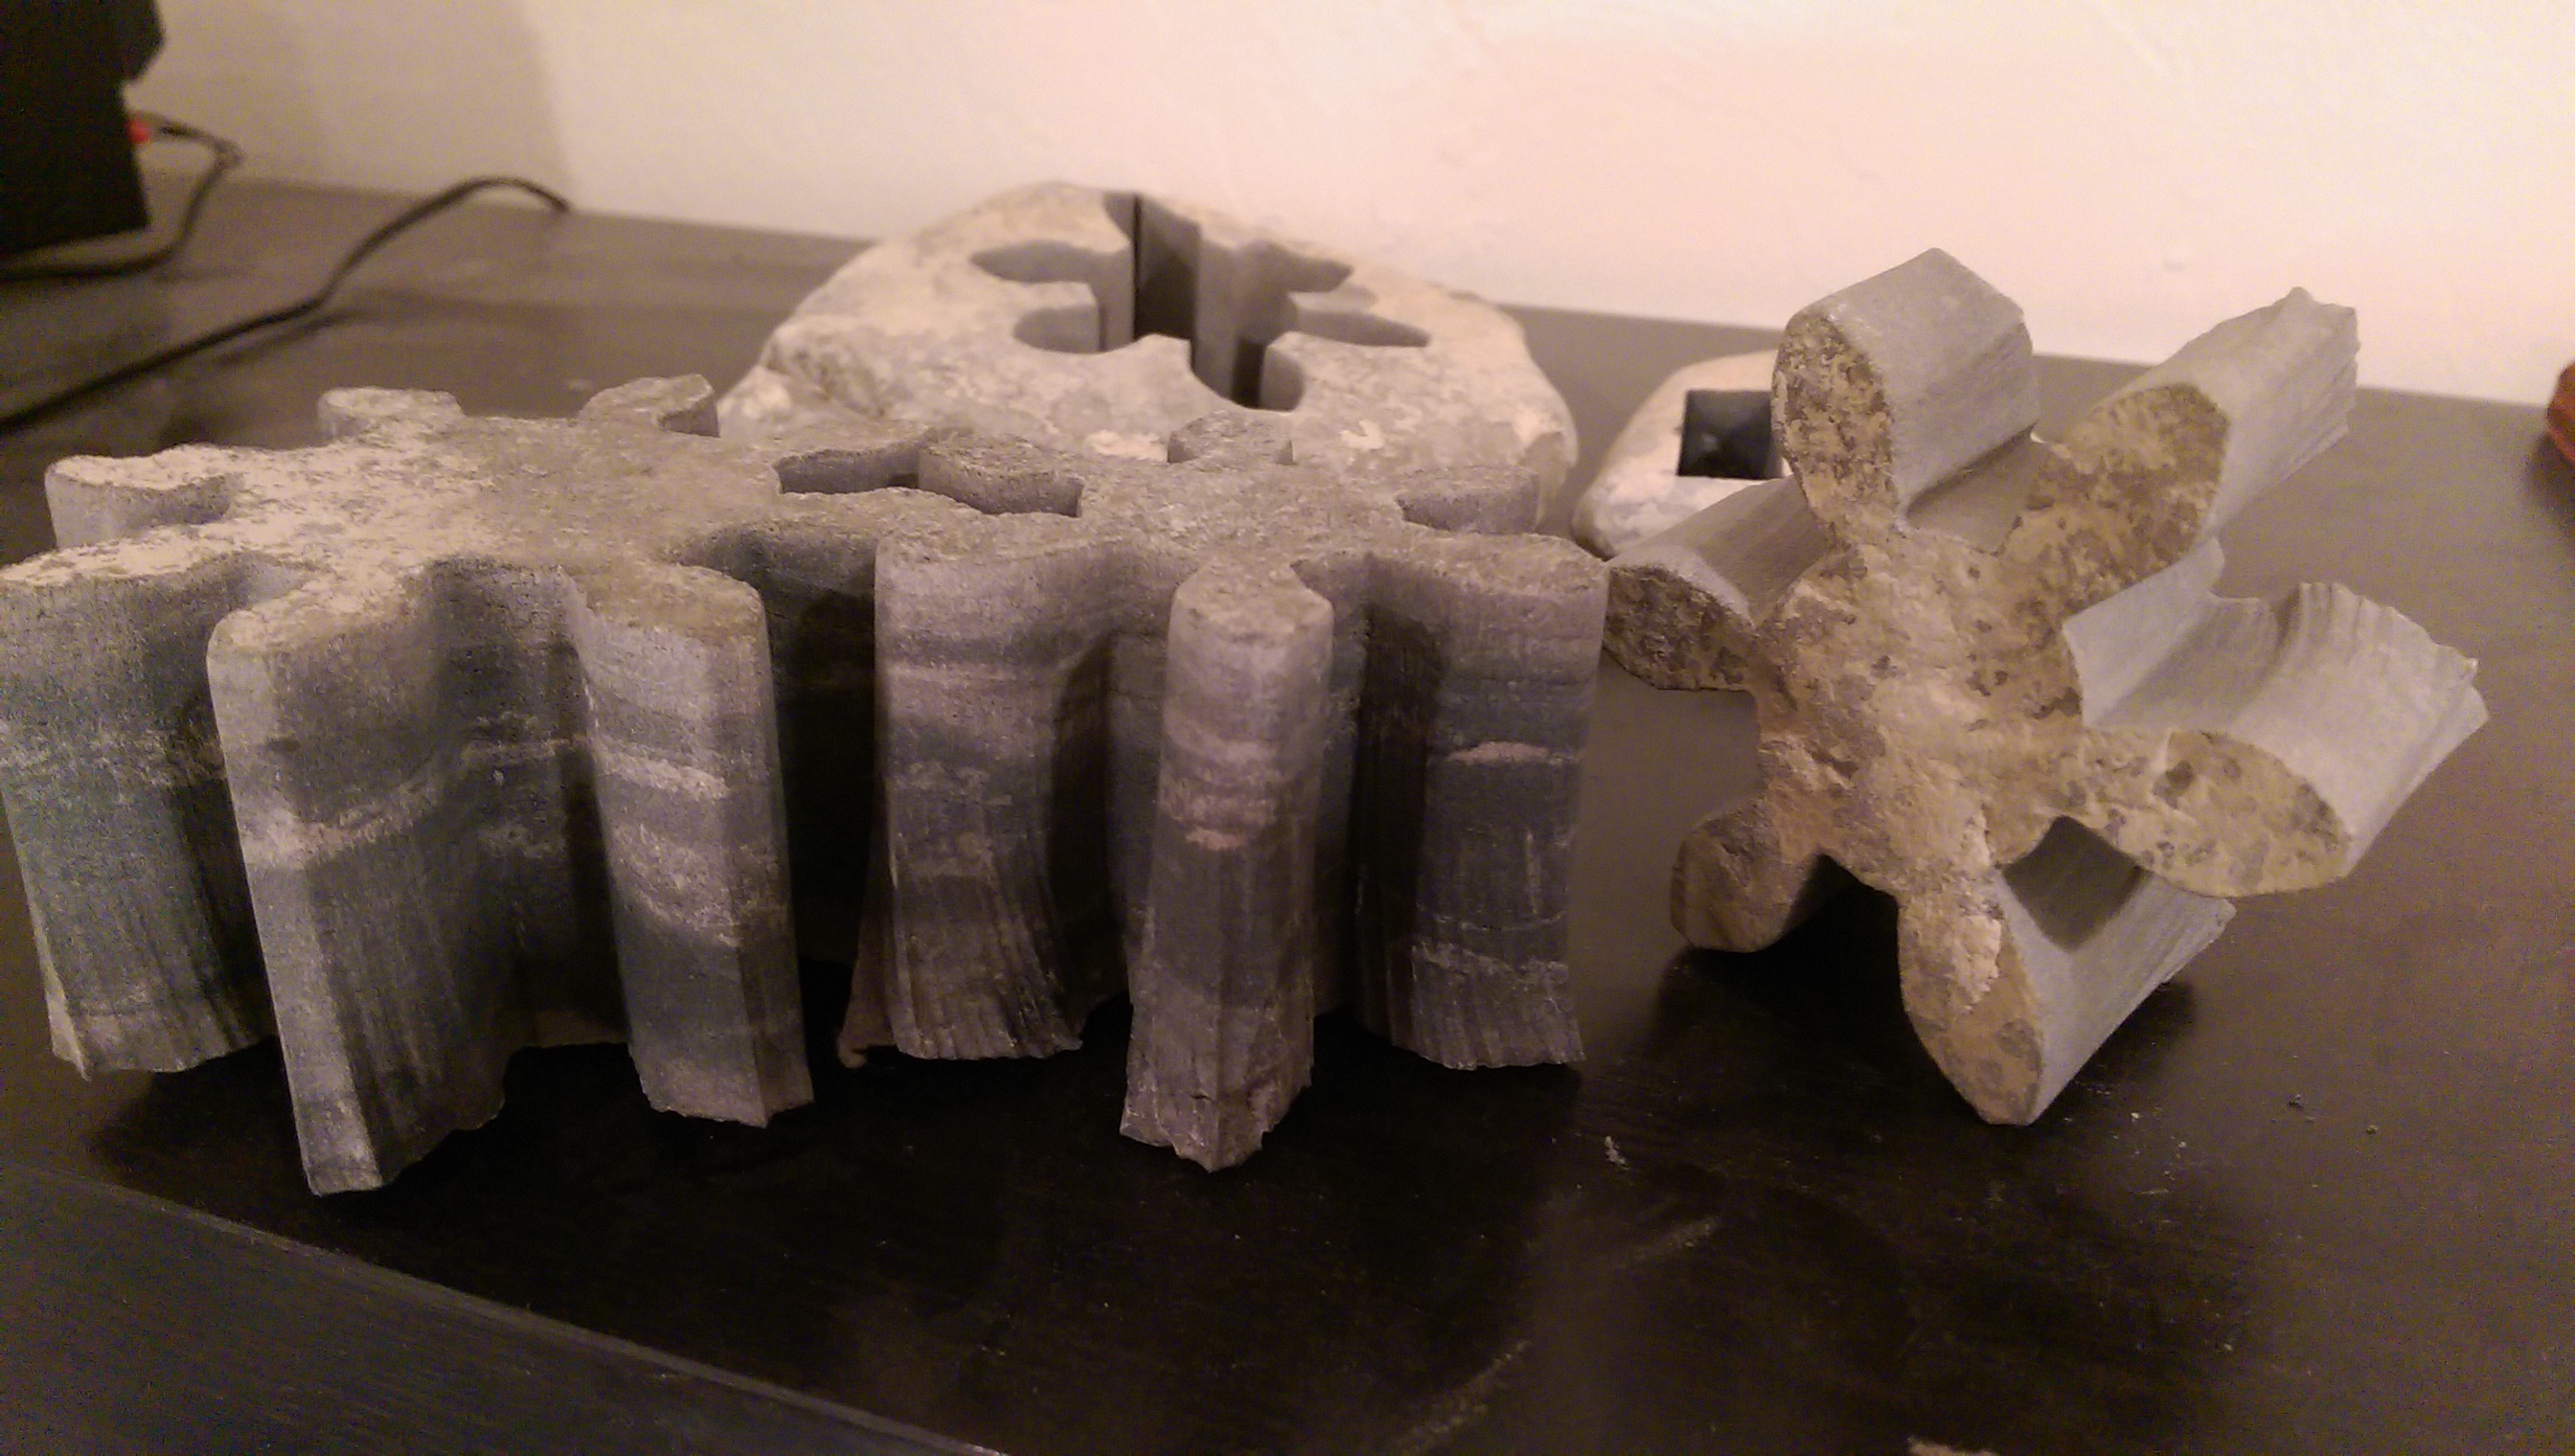
Stone shape cutting
When I realized I would have access to an industrial waterjet what’s the first thing that came to mind? “What fun stuff can I cut up?” of course. Starting off the list is a regular slab of rock. It’s abundant and we hadn’t tried it yet. I scrounged a local dried up creek bed for a few prime candidates and it cuts like butter, especially considering the thickness. Check out this geology!
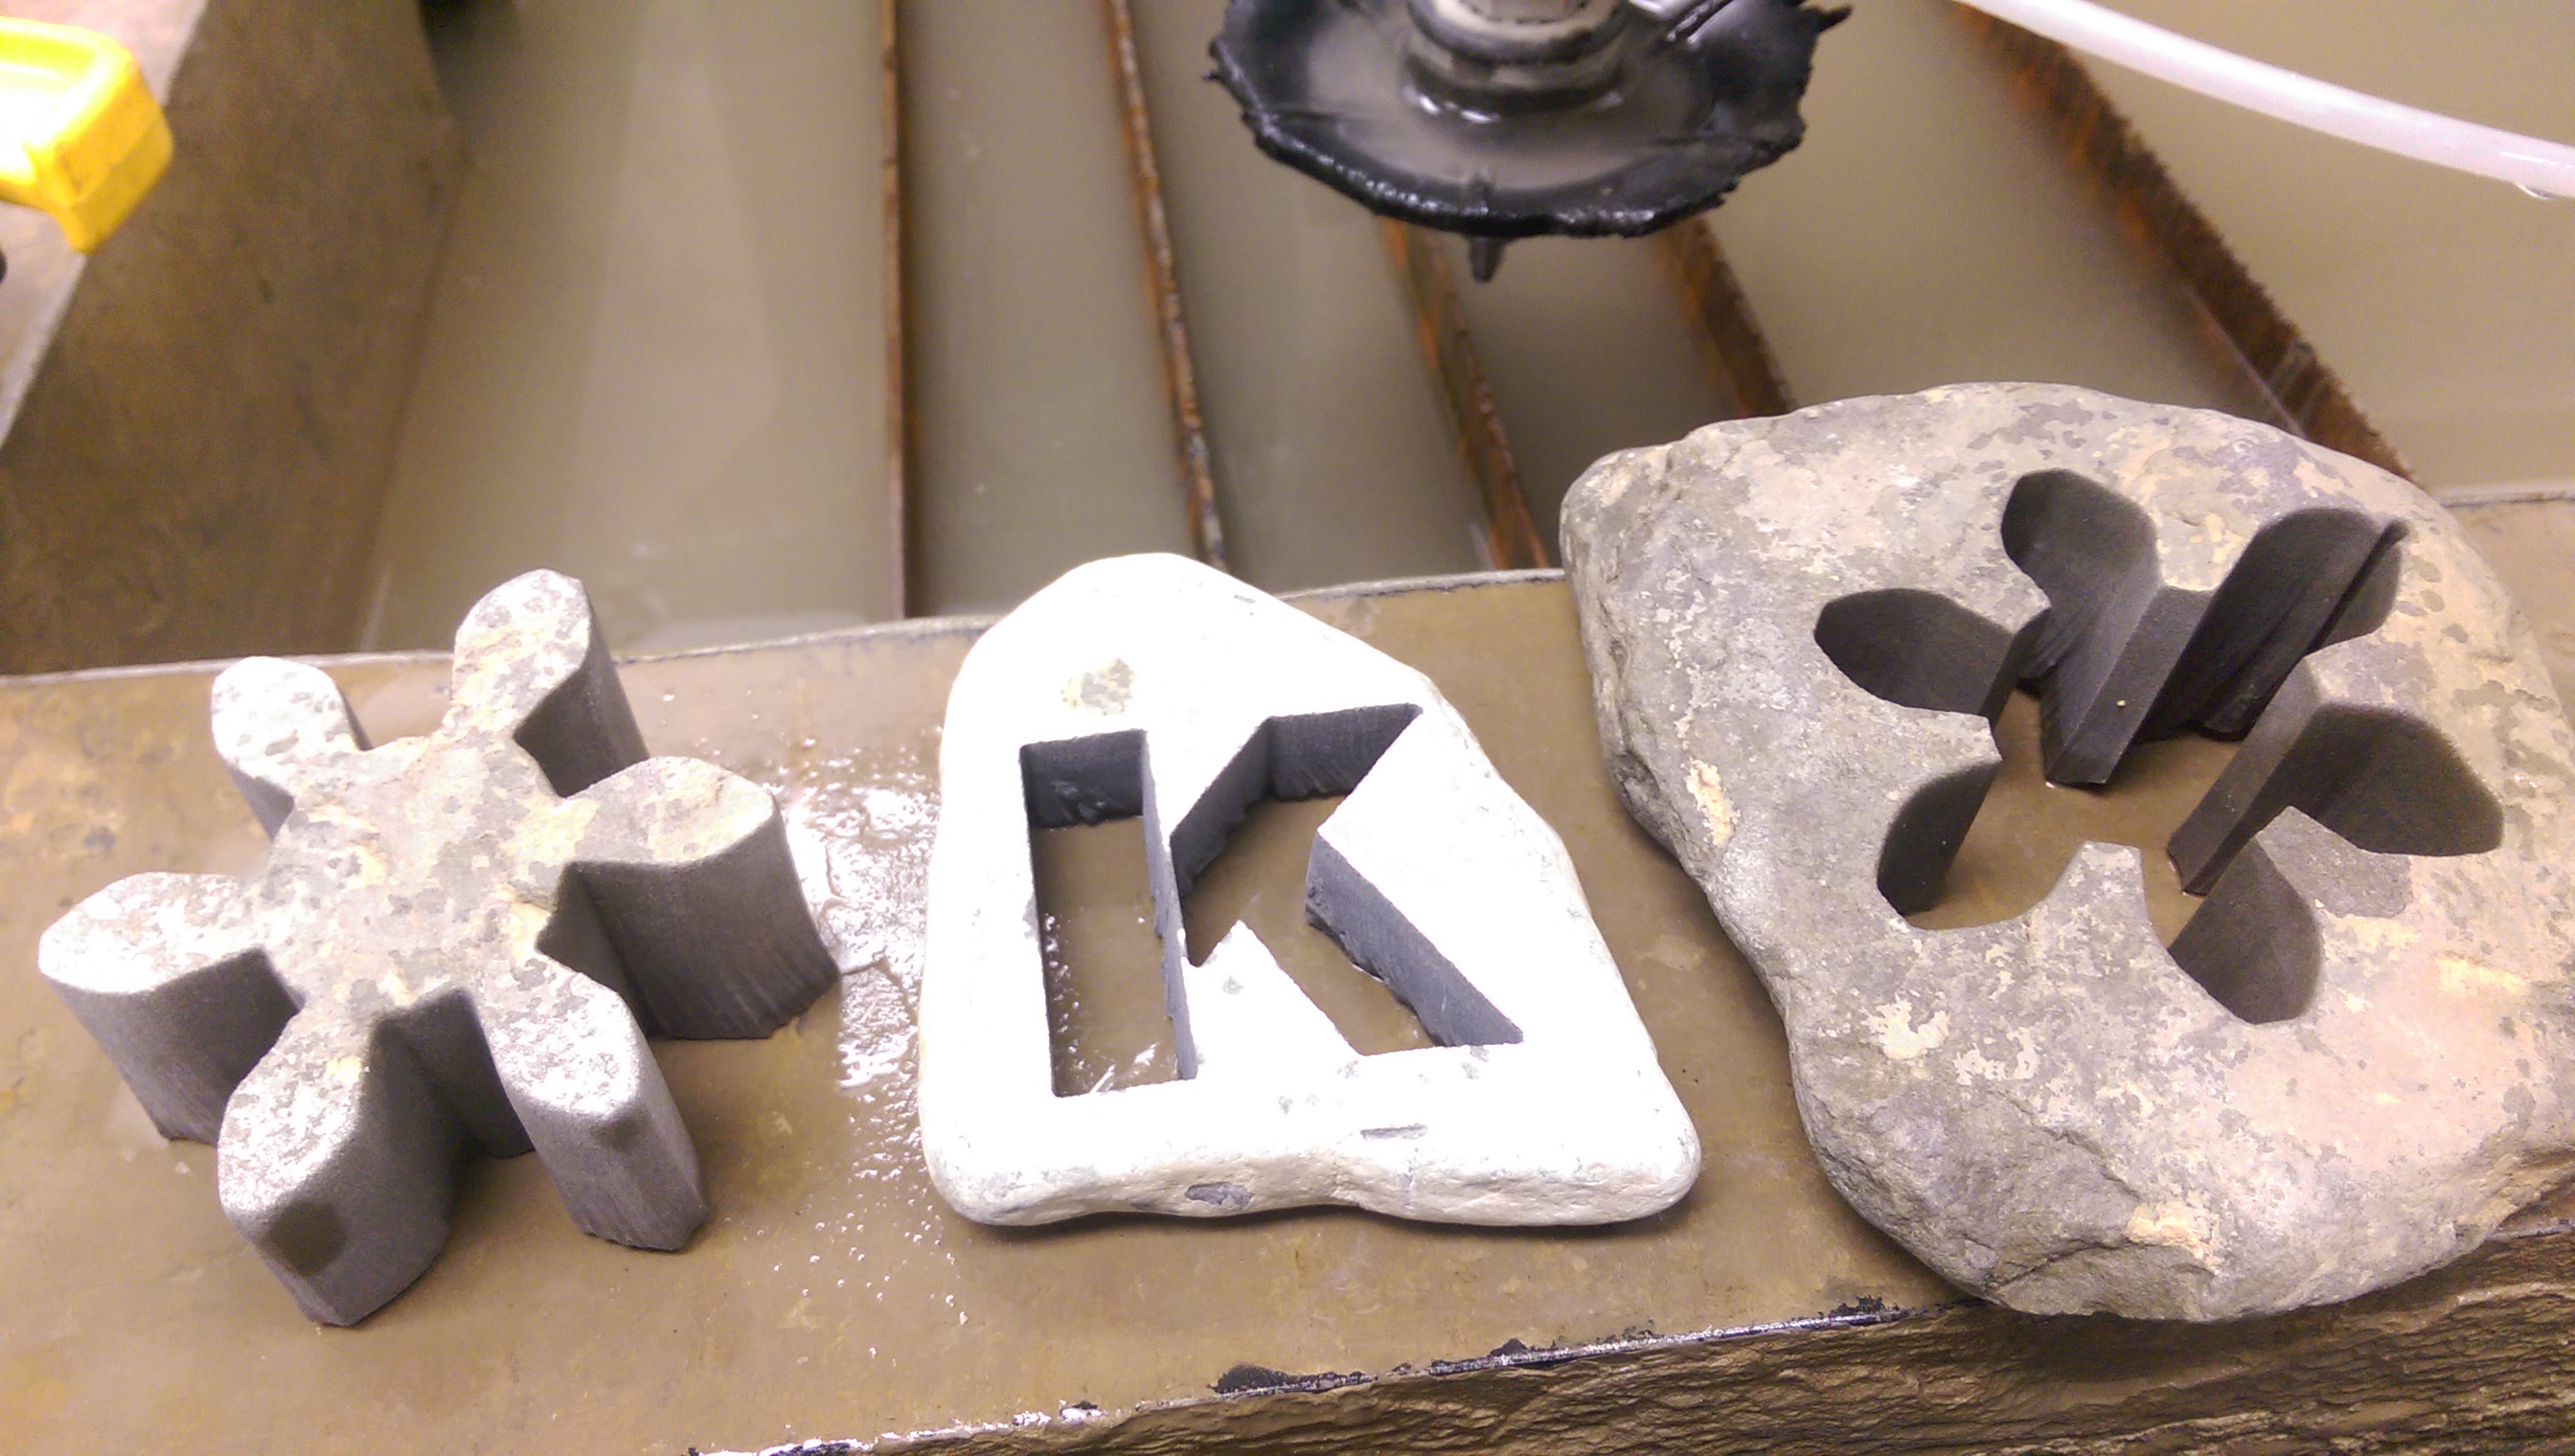
We wanted to get interlocking spinning gears, but need to play with the teeth pitch a bit more and cut at a slower speed. The gear on the left (below) was cut significantly slower than the two on the right, but all show a bit of ghosting (for lack of better term) at the base.
And a short video of the first gear
It’s Water Jet Cutting Time!
From Bat’leths to Batarangs and everything in between, it’s possible to cut almost anything on a water jet cutter. And now that we have finally gotten our water jet cutter operational YOU can use it to cut stuff!
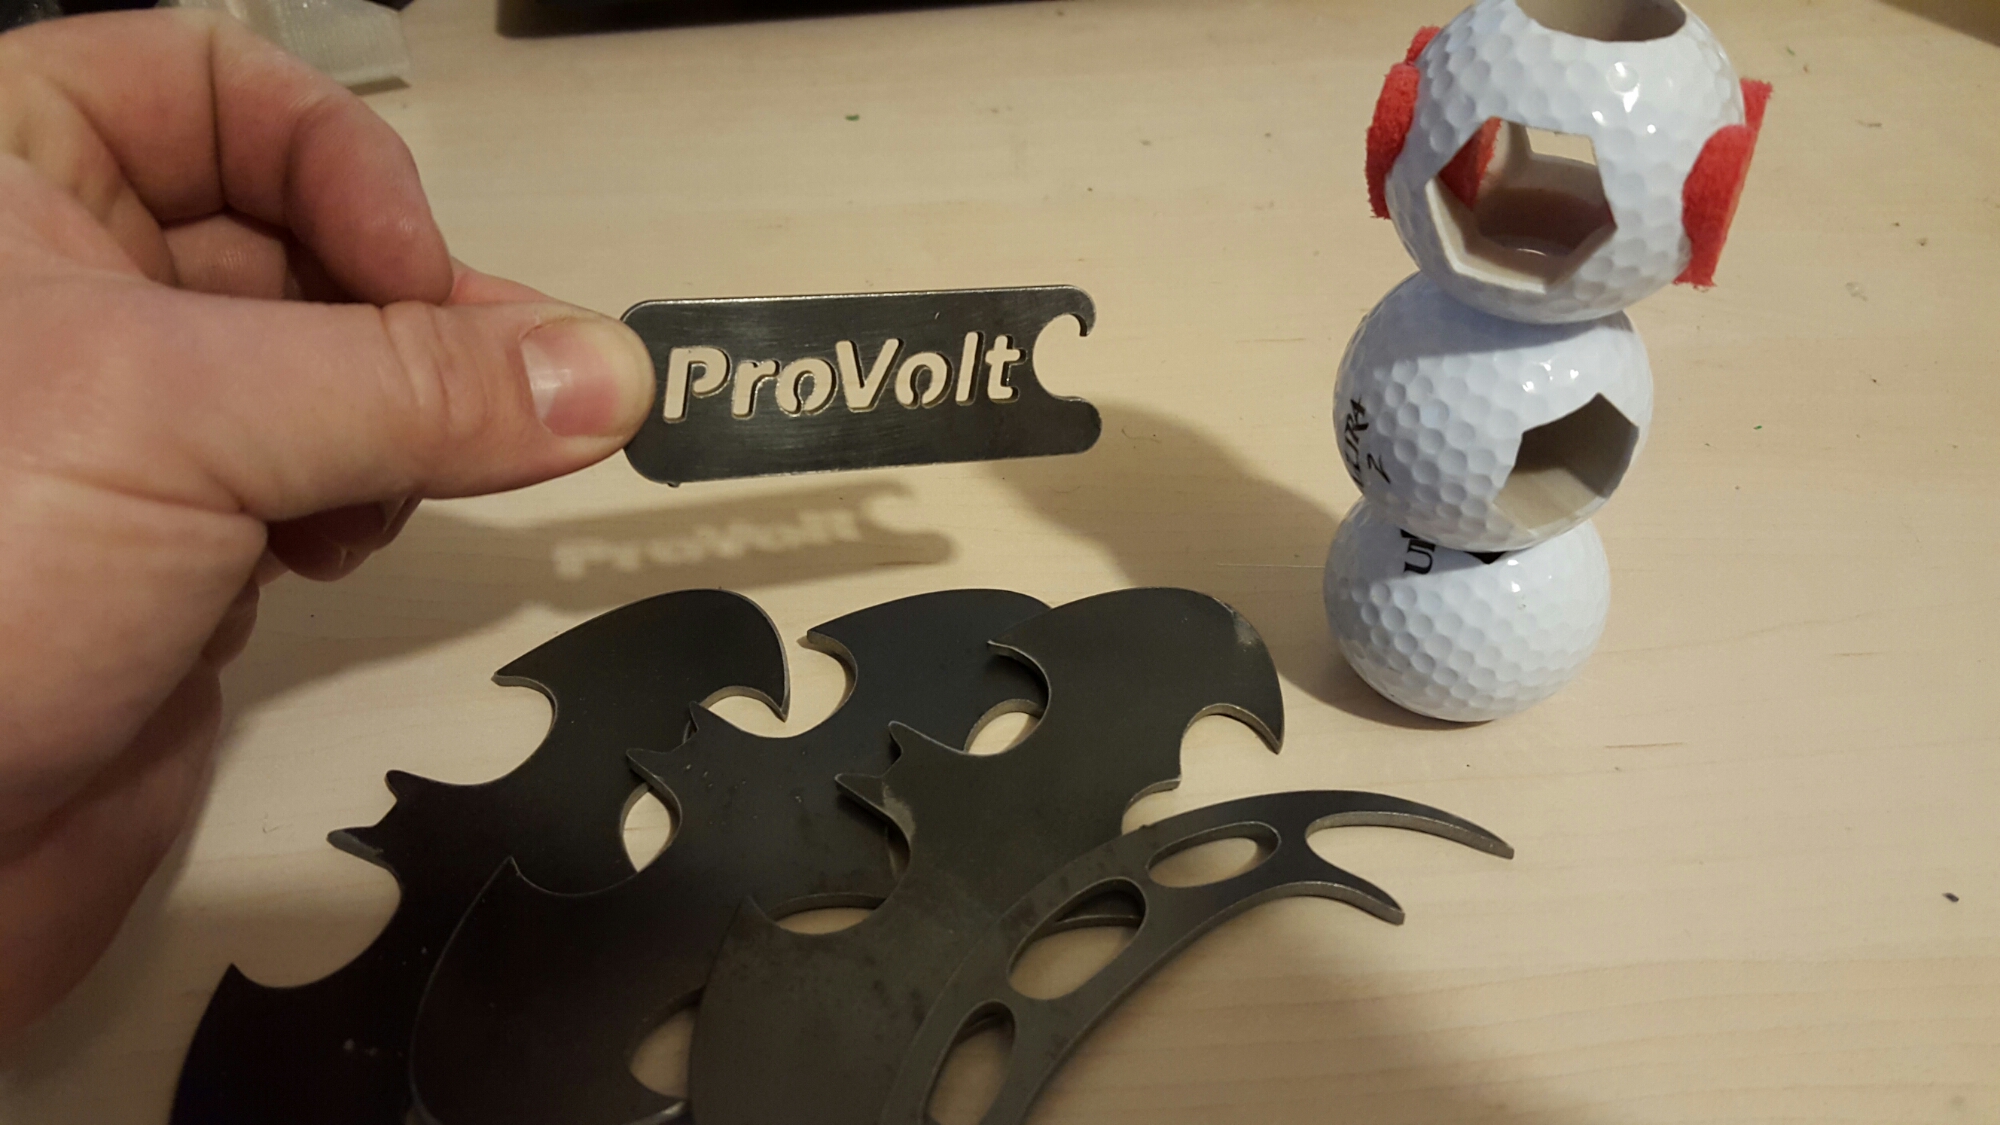
A water jet is a very versatile machine capable of being used for everything from prototyping to full production runs of hundreds of parts. A part can go from design to finished part in less than an hour and can be made from almost any type of material from foam to steel, and thicknesses ranging from tinfoil to over 8 inches thick. One key feature of water jet cutting is the lack of a heat affected zone around the cut. Cut parts stay cool, and require very little cleanup.
The water jet is at our 2nd location, just South West of our main space. We are tentatively planning to make Sunday our dedicated shop day from noon to about 6pm, but the water jet will probably be available for use 24/7 if you need it. Learning to use this machine yourself will allow you to make parts extremely cheaply. The DIY price will be on the order of $55 per hour, just enough to cover the costs to keep the machine running, and for maintenance. If you’re uncomfortable using such an expensive and powerful piece of equipment yourself, you can always negotiate with another member to cut things for you.
Come check us out, and learn to use the water jet, 3D printer, and our new vinyl cutter. We are open to everyone, so come be a part of something awesome!
Evolution of 3D printed hats

I have wanted a 3D printed top hat for a long time. Here you can see the evolution of my hat so far. The first one was very thick. You could probably stand on it, and it’s so heavy my neck started hurting after the first time I wore it. The second is much lighter, but retains the rounded top which didn’t have enough pop to it for my taste. The latest design fits my head better, is light enough to be comfortable, and most importantly has a bit more of the shocking quality that top hats were invented to convey.
Casting a Work of Art
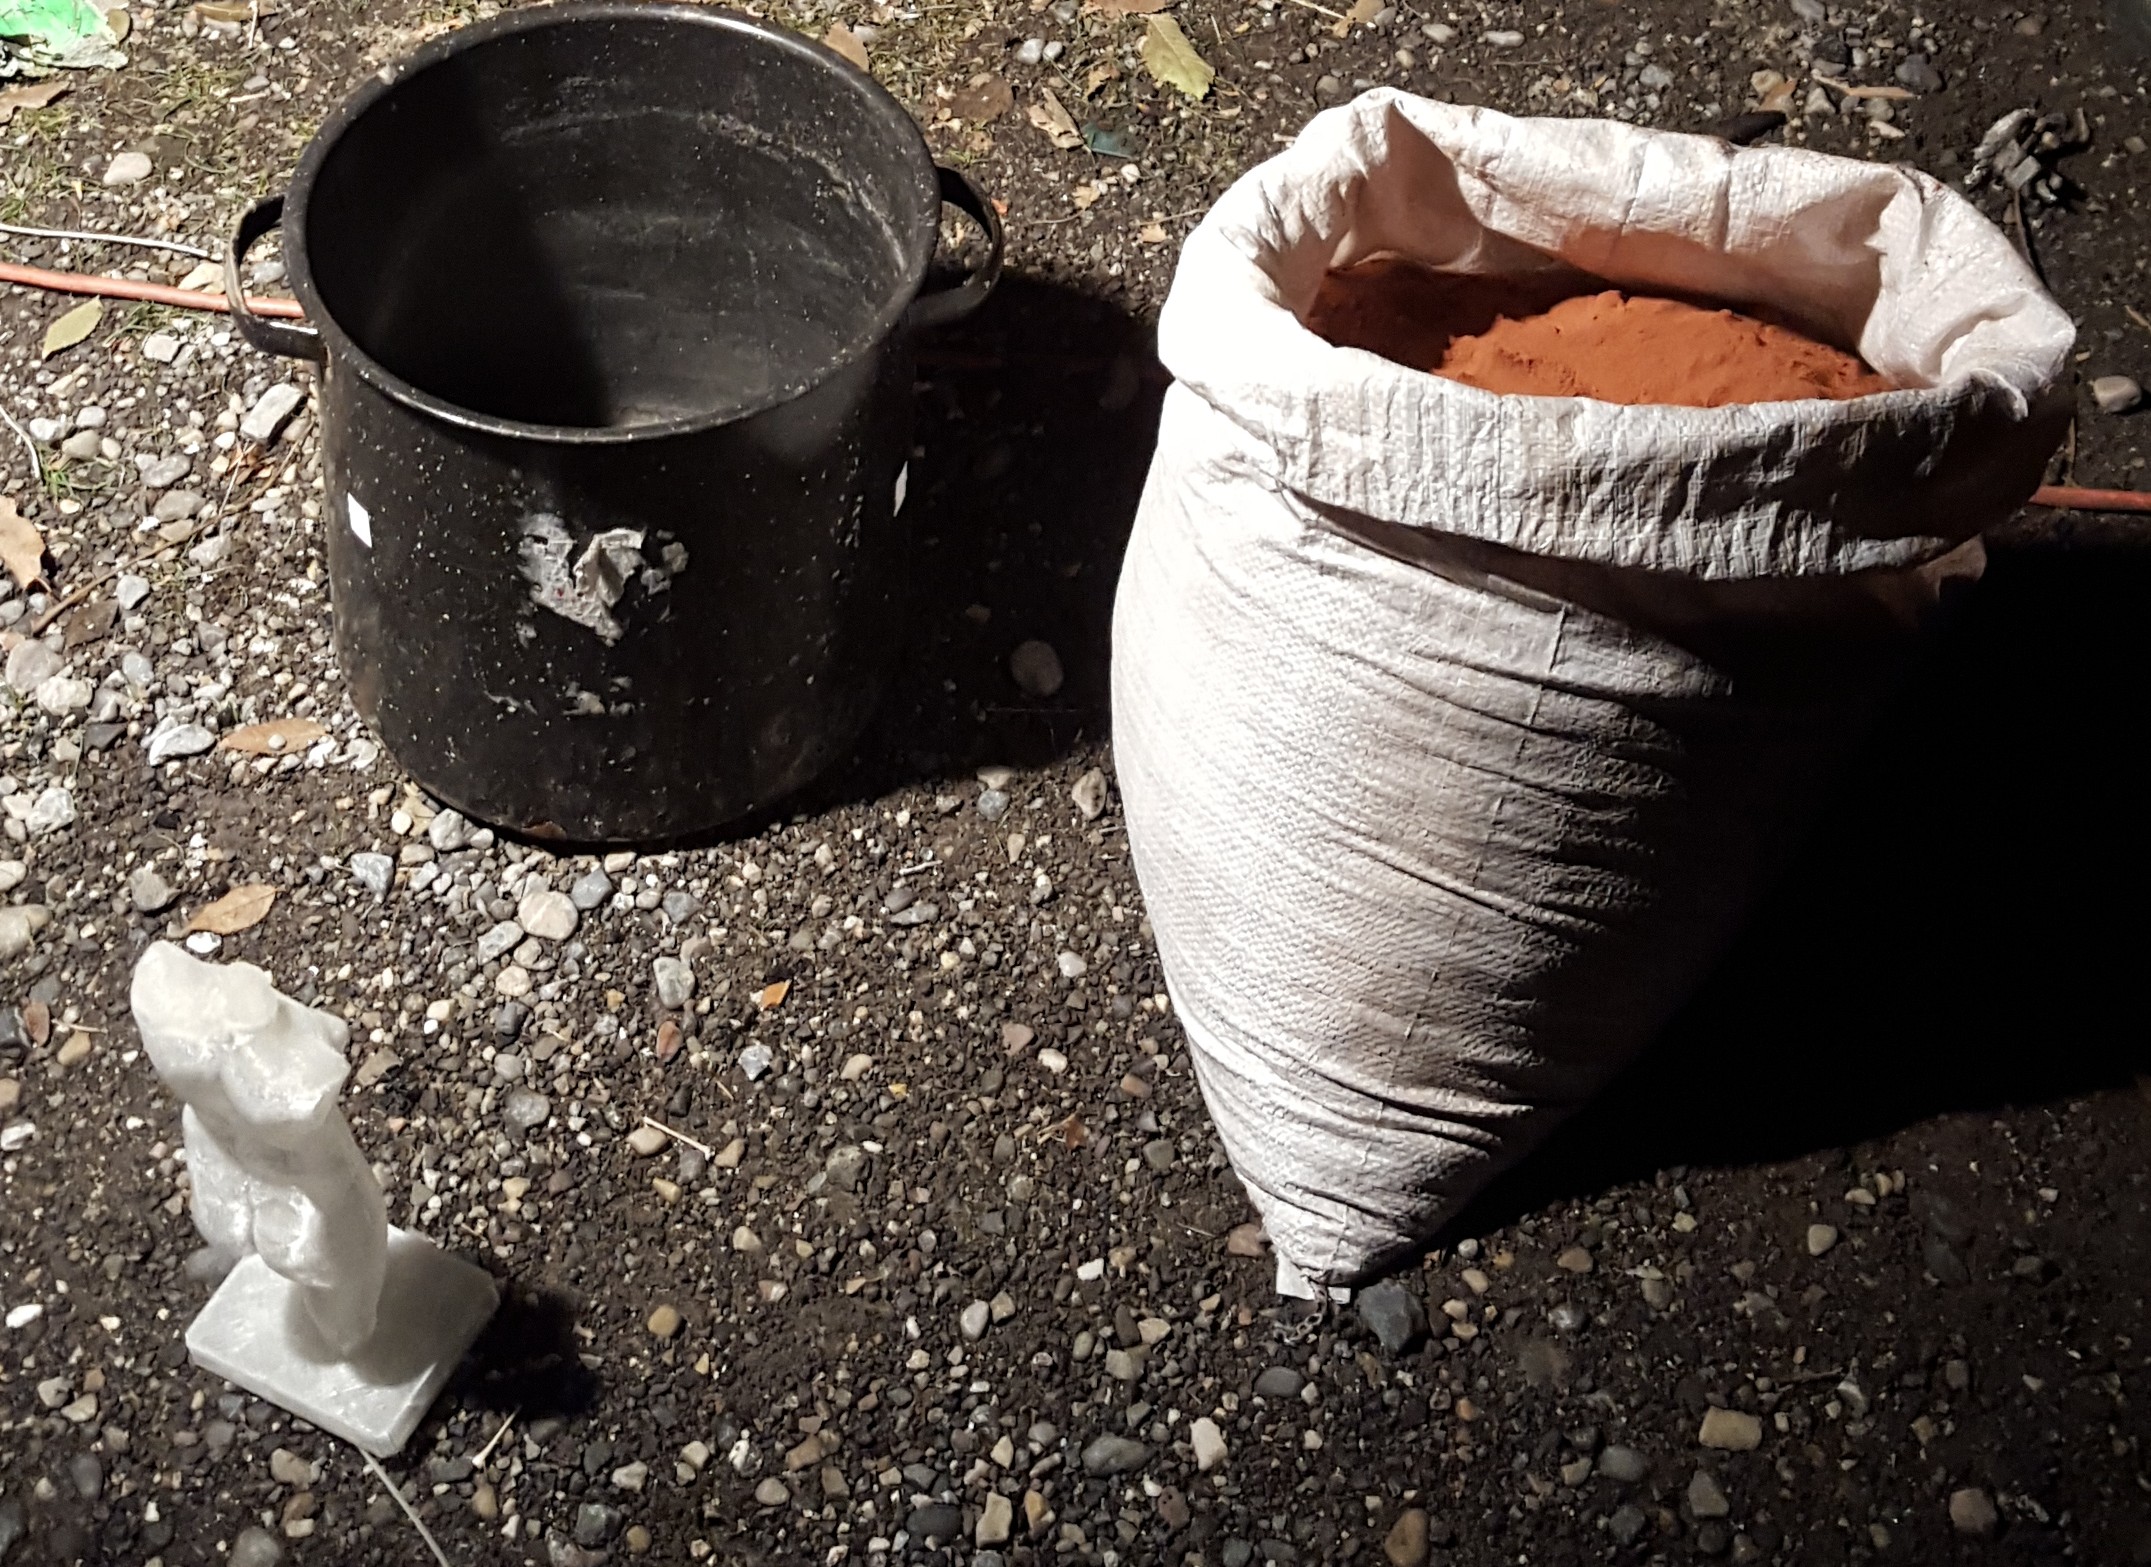
We have experimented a couple of times with doing some aluminum casting, and each time we get better results. This time we re-designed our fire brick kiln to burn some coal and get a boost from a cheap blow-drier. We also purchased an actual crucible and casting sand from Larsen Foundry Supply in SLC. We had much better results from this pour than we got the last time we tried to burn out a 3D print.

The Statue, “Female Torso, Esquiline Type“, was downloaded from thingiverse. The model was generated from 140 pictures of the original in the Louvre captured by Cosmo Wenman. The original artist is unknown. You can hear more about Wenman and the process on NPR All Tech Considered.
The statue was printed in natural PLA with a single wall, and only 2% 3D honeycomb fill.
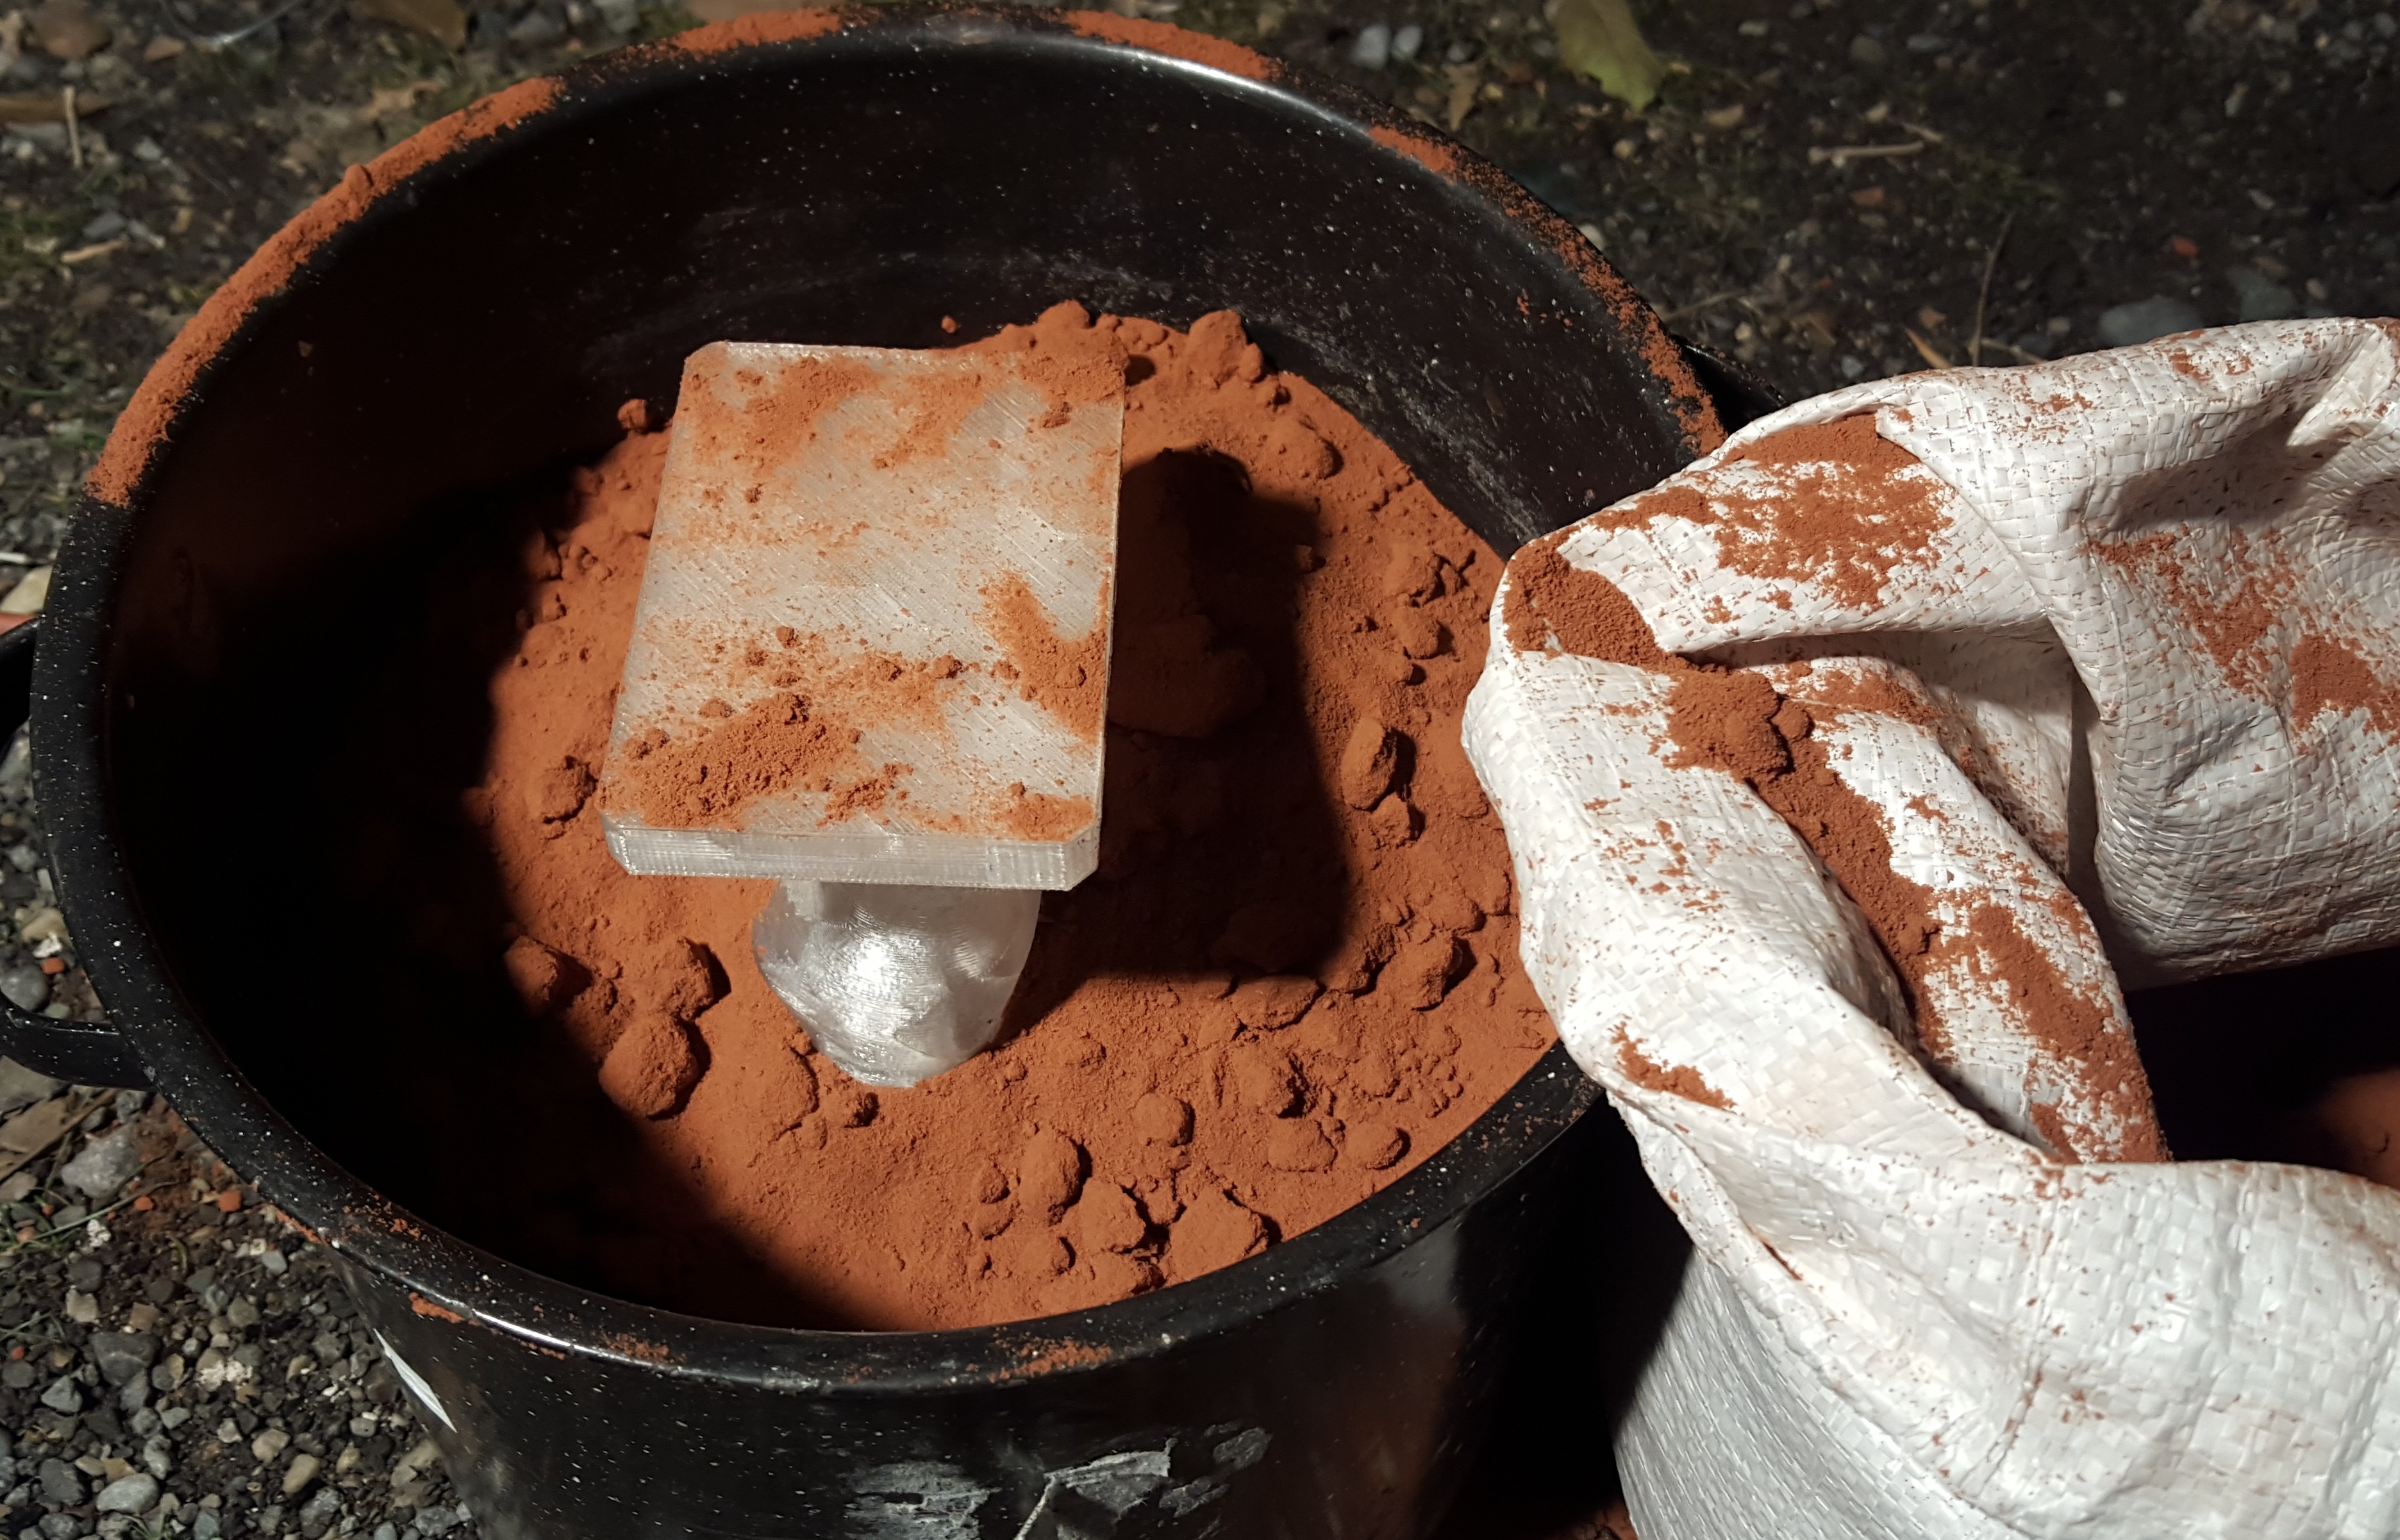
We packed the 3D print upside down in refractory sand, and pressed it around the piece to create the mold.
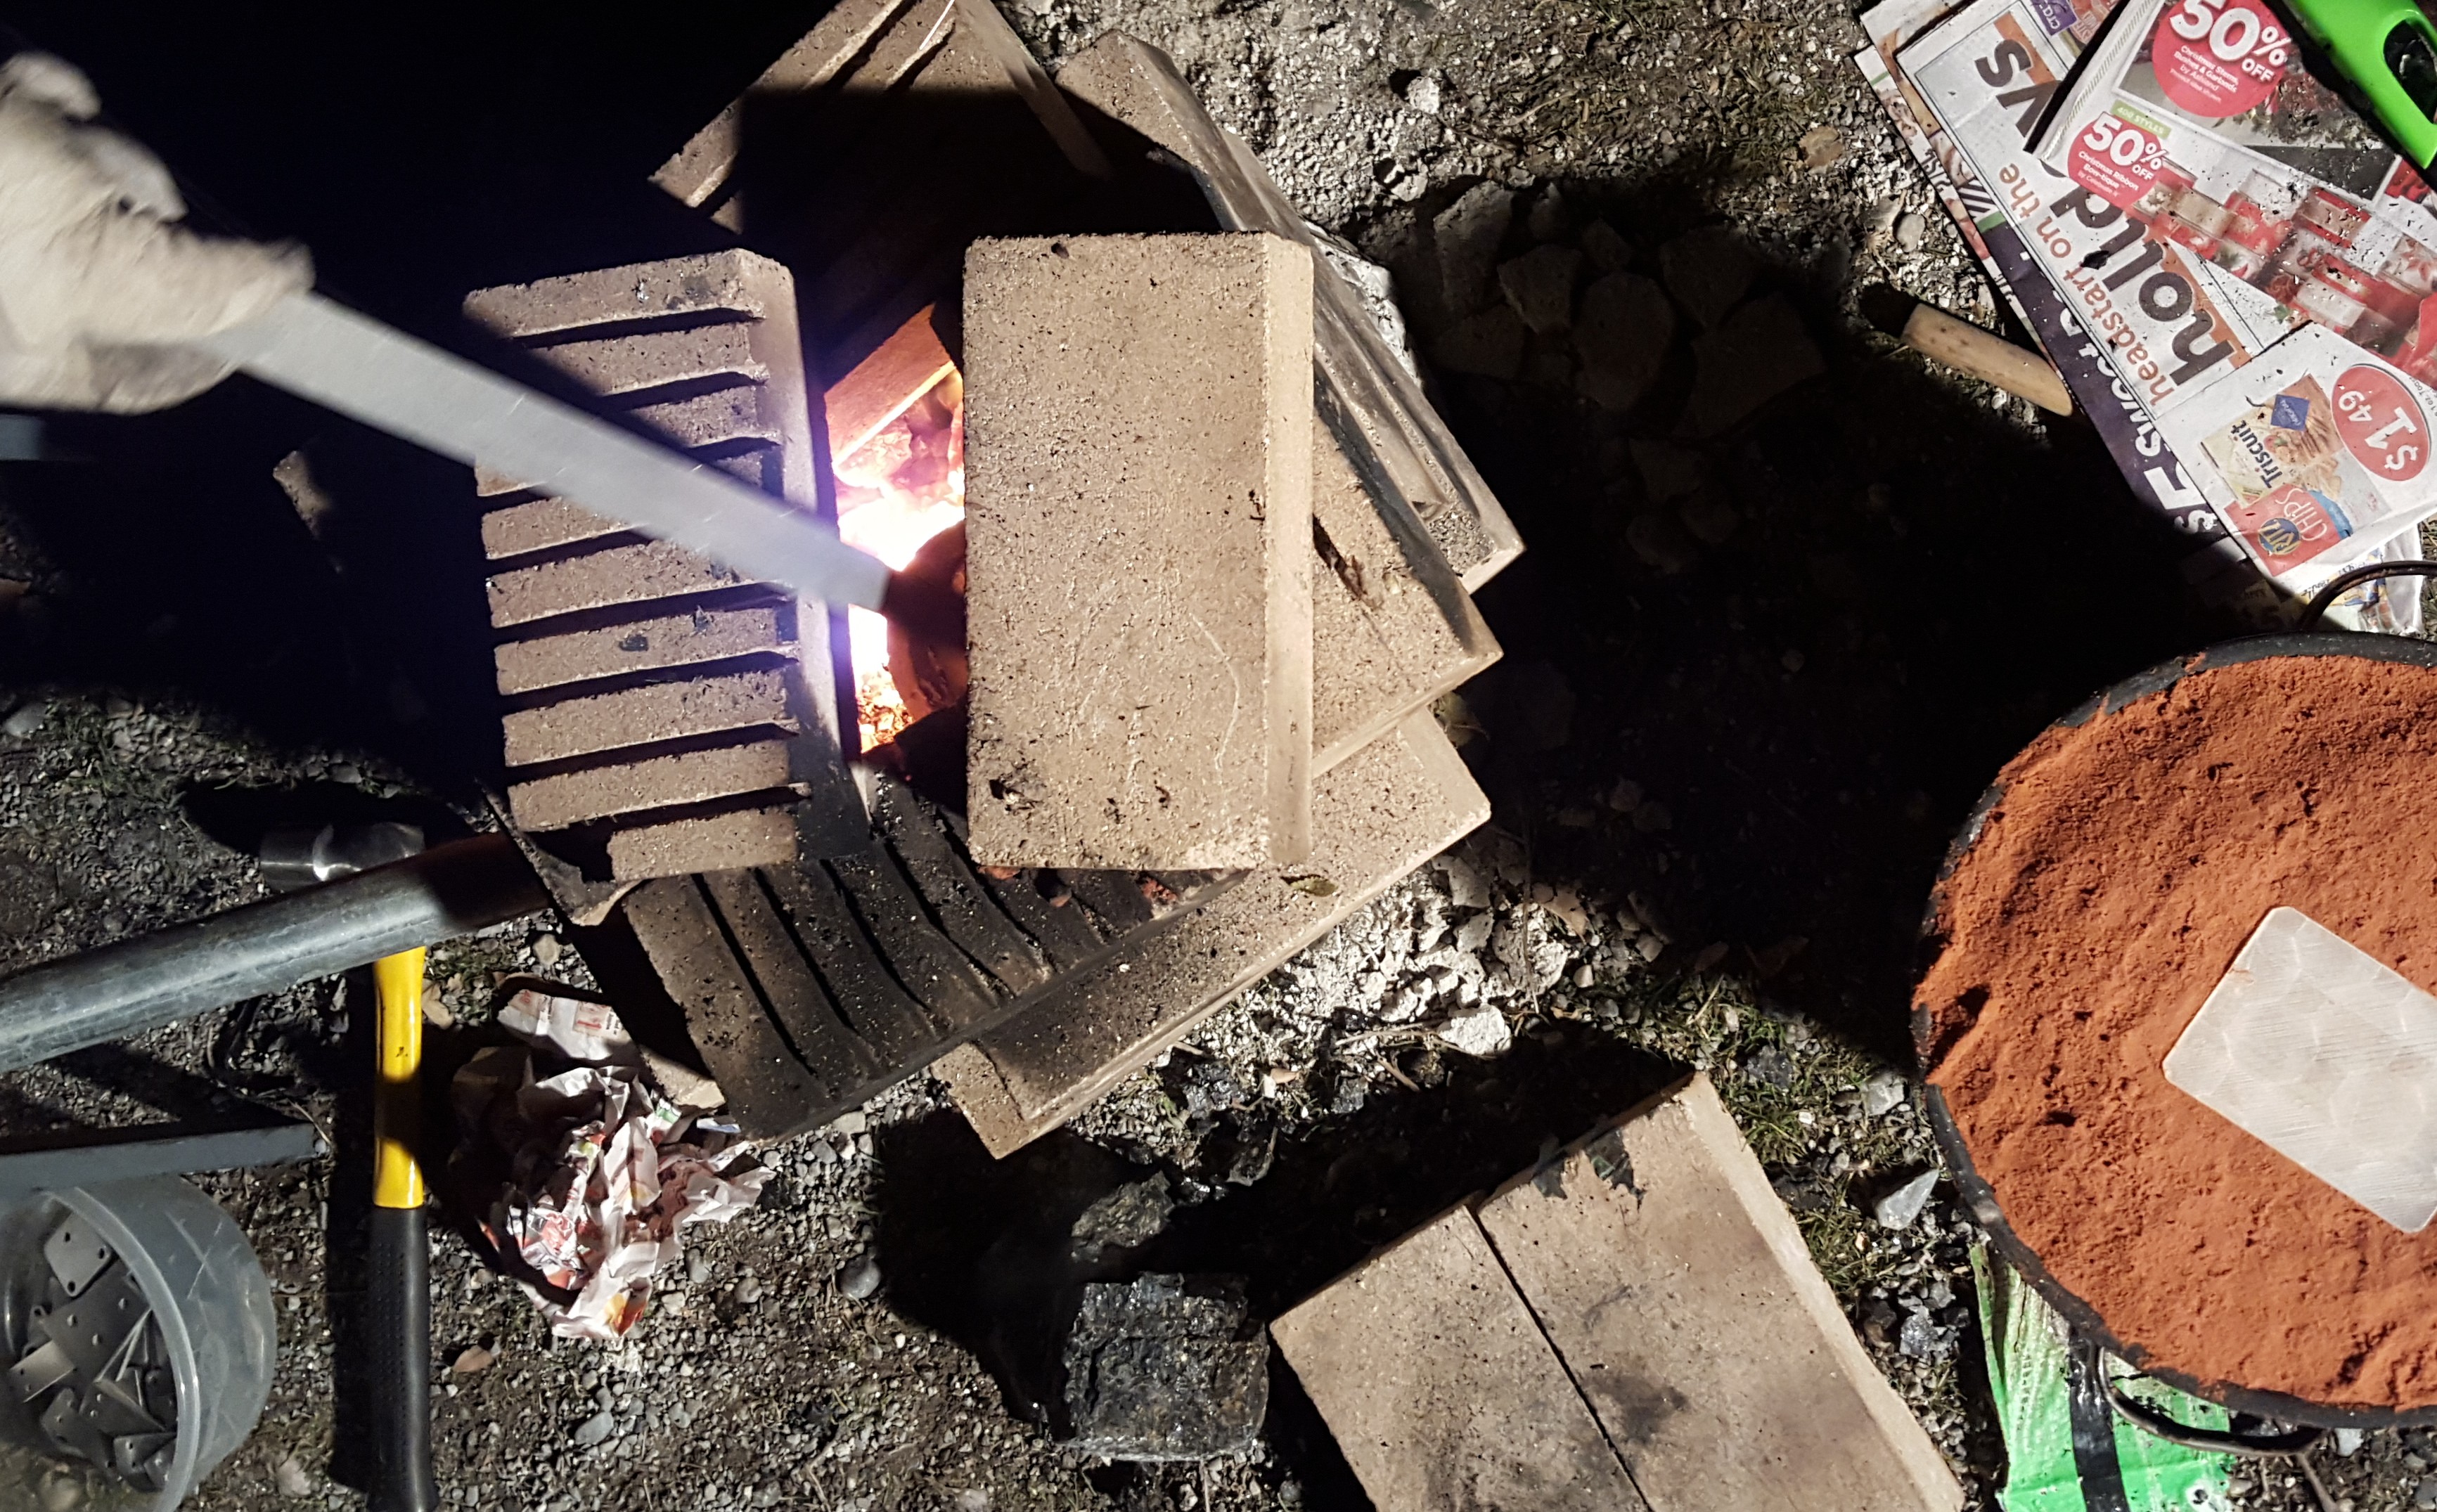
It was a challenge to get the kiln hot enough, but we were finally able to get a silvery pool of aluminum in our 4 lbs. crucible after adding lots more coal and skimming the surface.
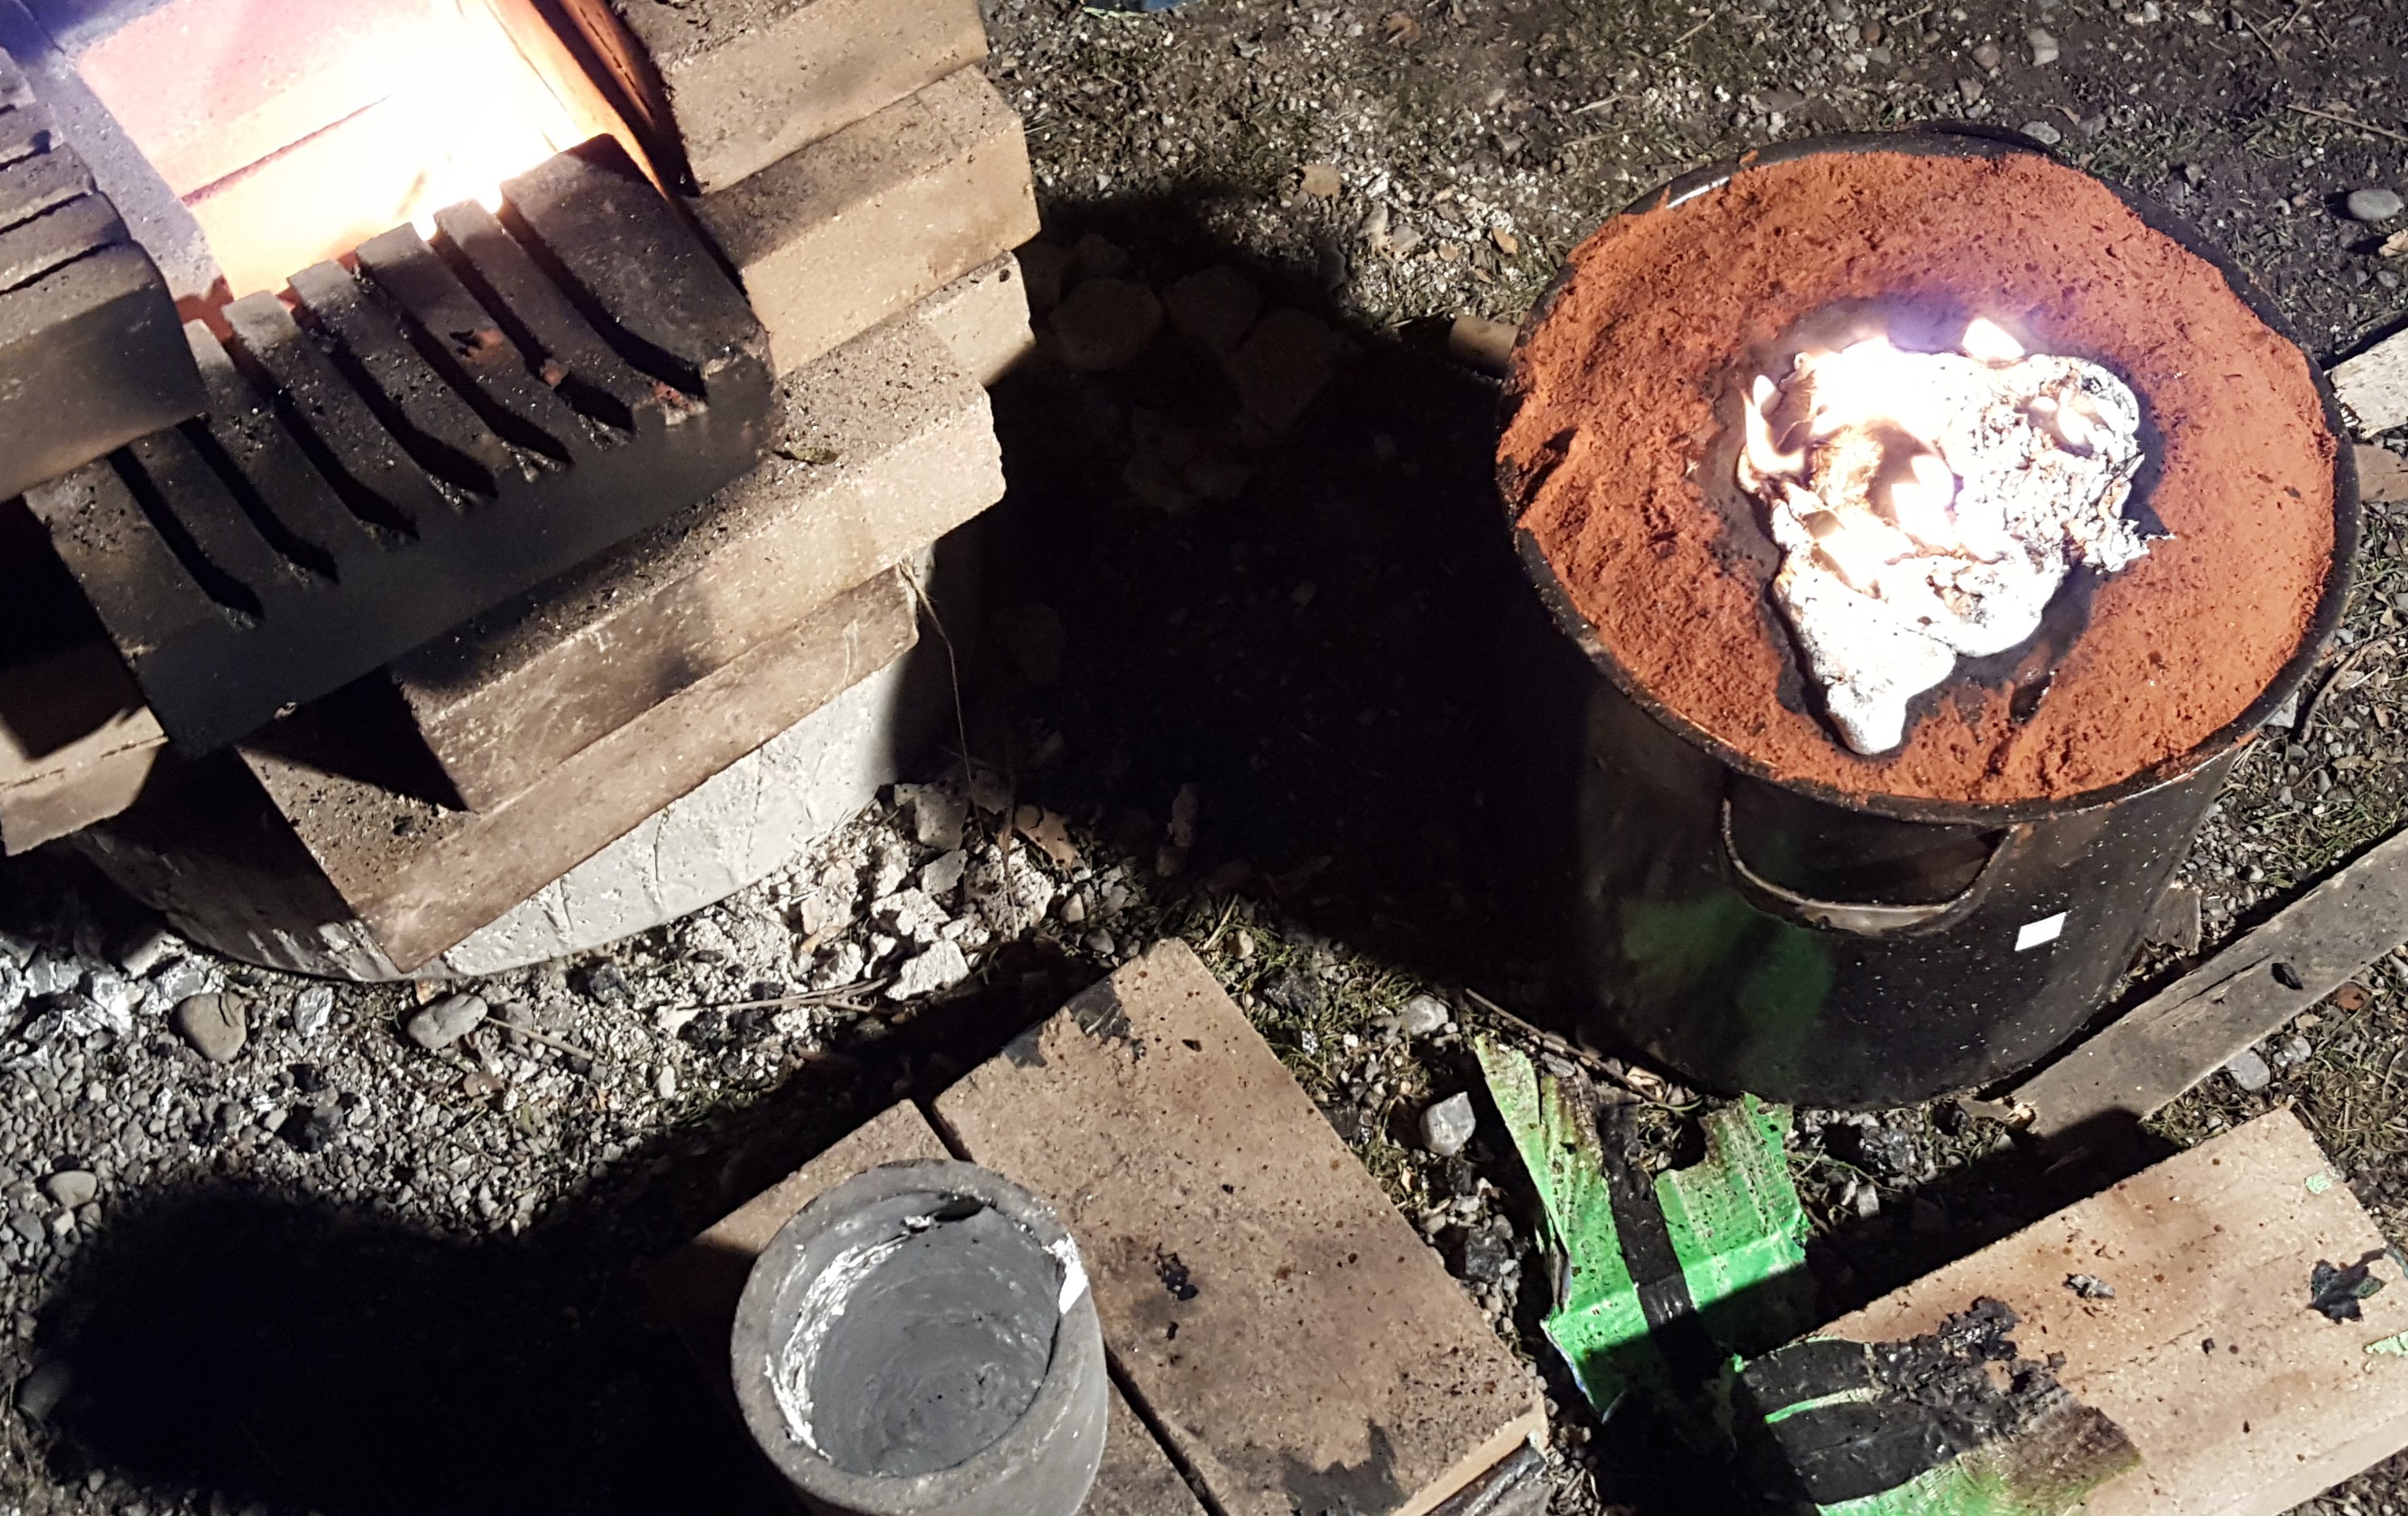
We poured the aluminum slowly at first, then quickly as the plastic began to melt and burn. I was a little afraid that the bubbling plastic would create a geyser of aluminum, but it just sputtered a bit.

After the burning stopped, and the metal had a chance to cool, we carefully wiggled the piece free with a twisting motion, and were finally able to see the result. A truly beautiful piece, made from scrap, plastic, and fire.
Mad Science!
We have been doing some exciting stuff at ProVolt lately.
We had a booth at the SLC Maker Faire where we played with several different types of levitation including a diamagnetic levitator, a superconductor, and a couple of different levitrons.
Back at the space, we mixed Aluminum powder and Iron oxide in a ceramic crucible, then lit it on fire.
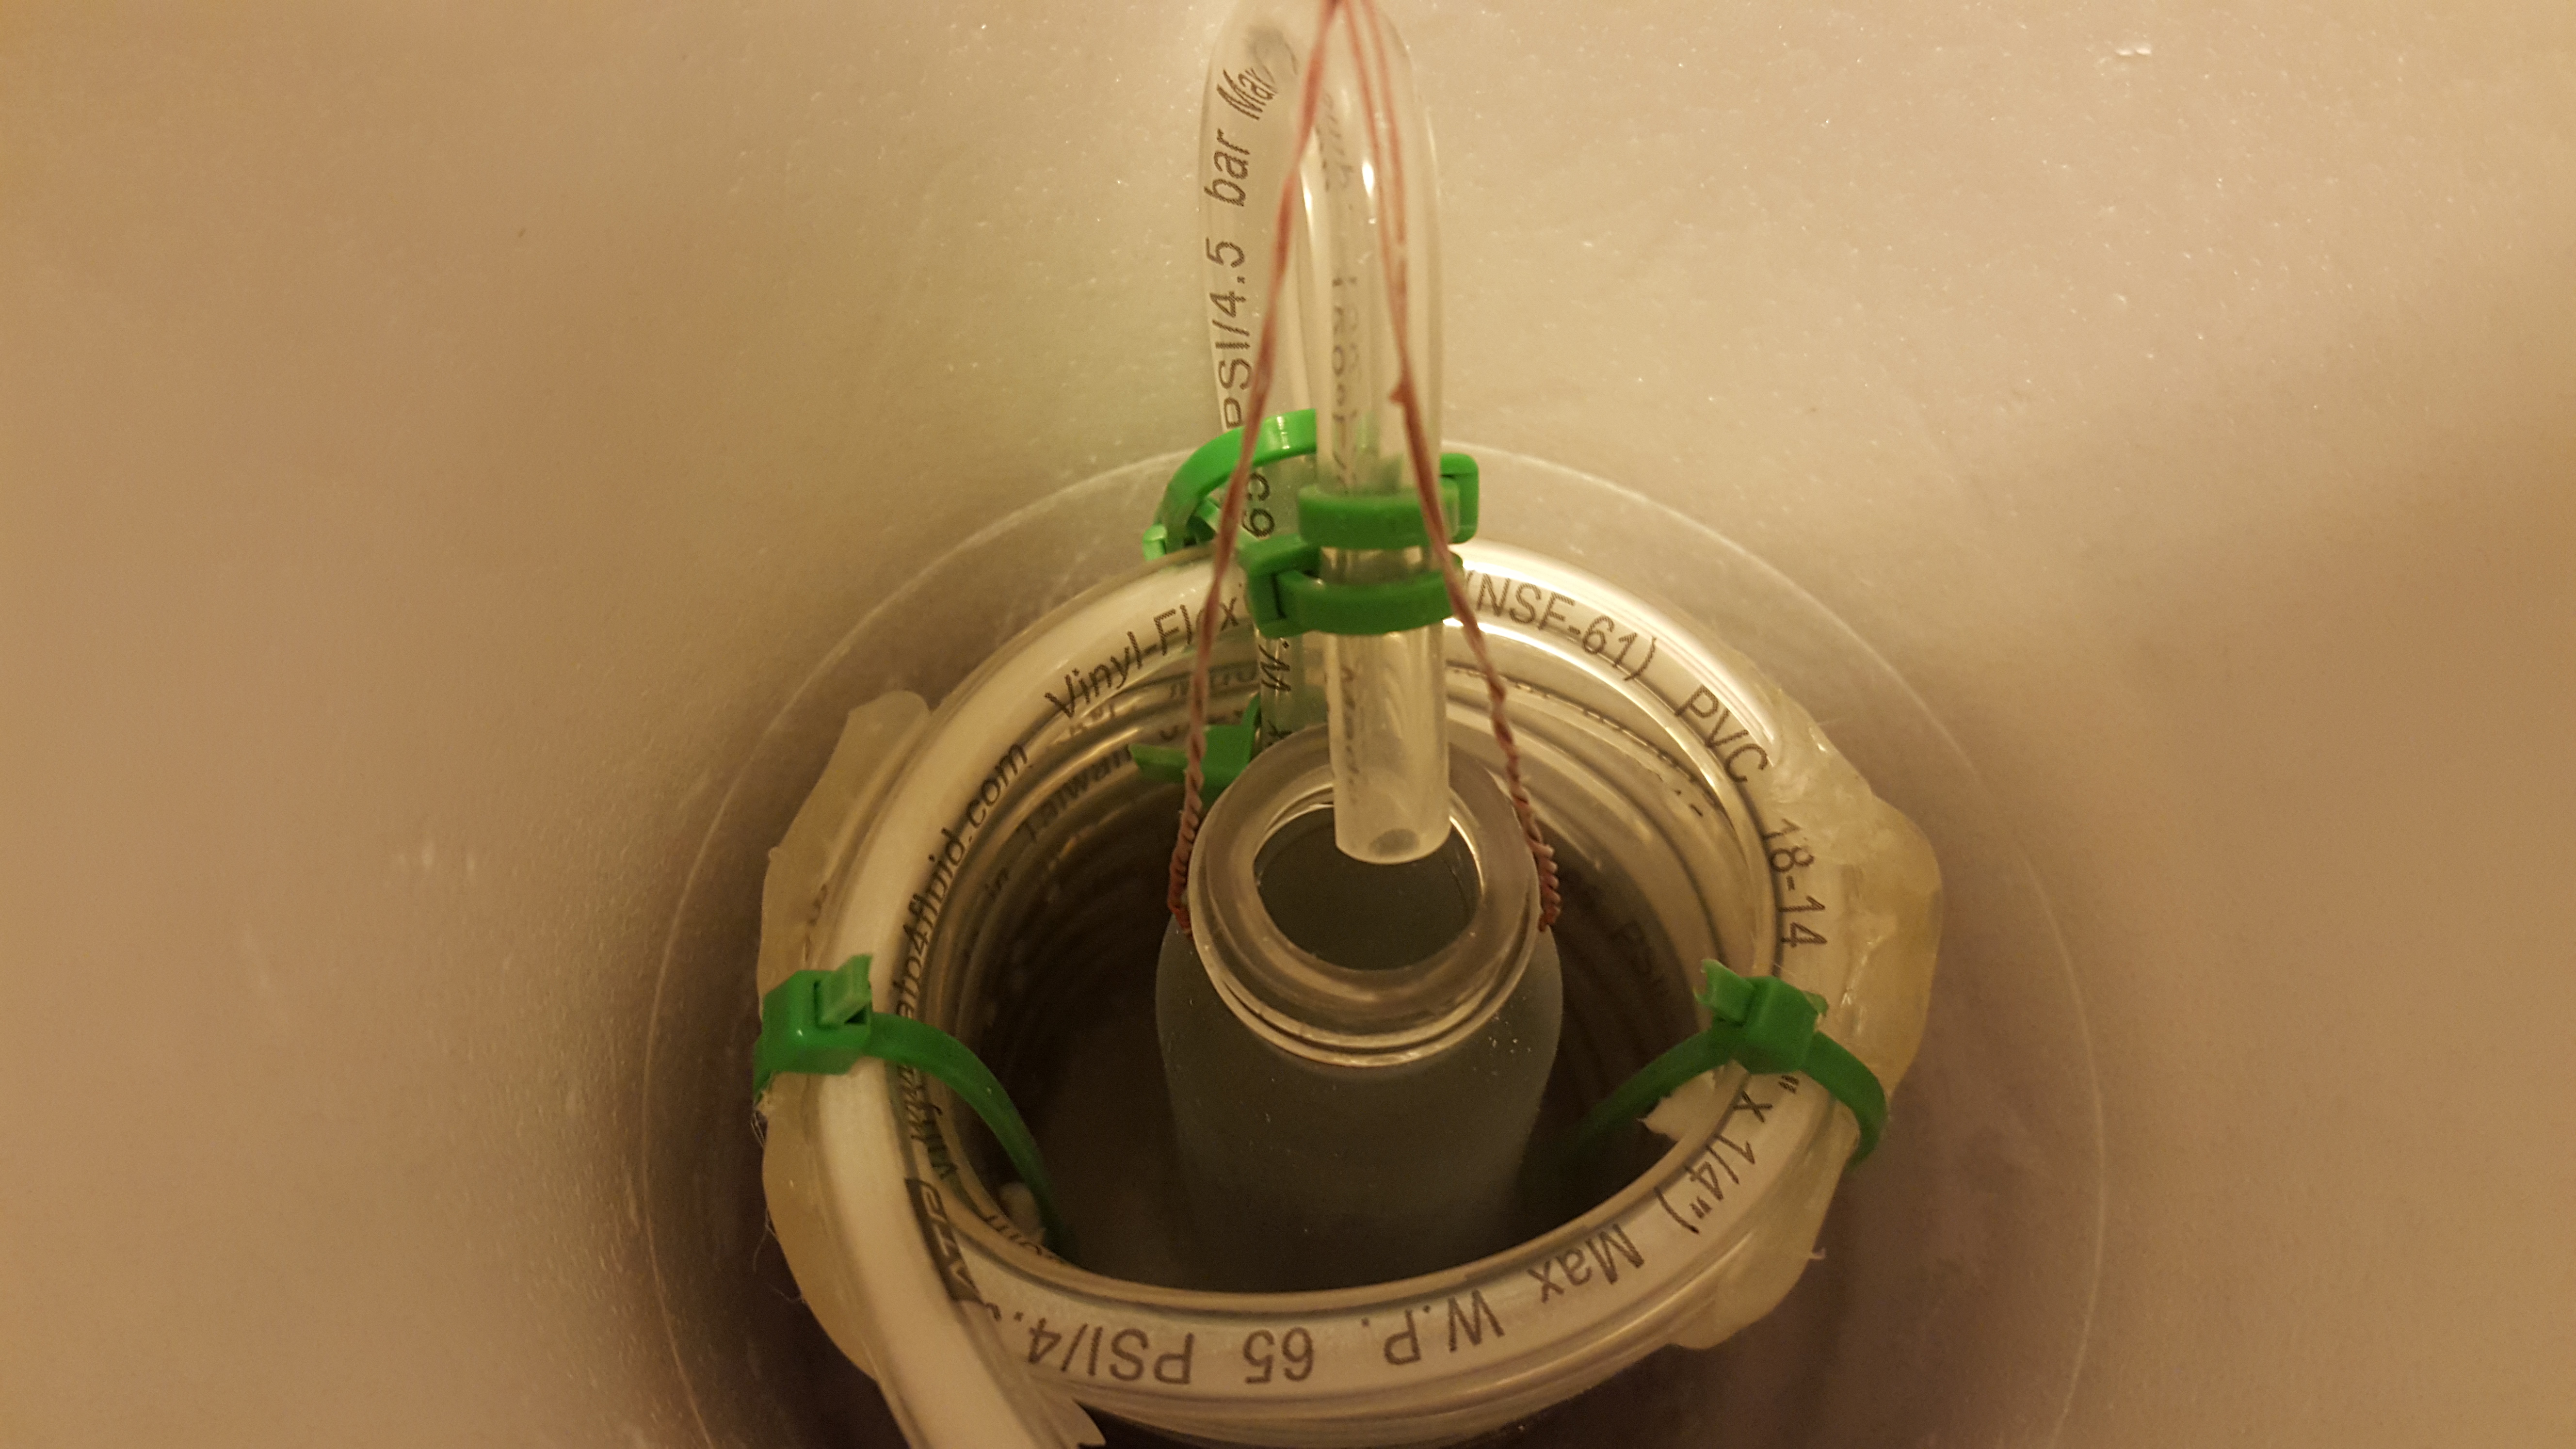
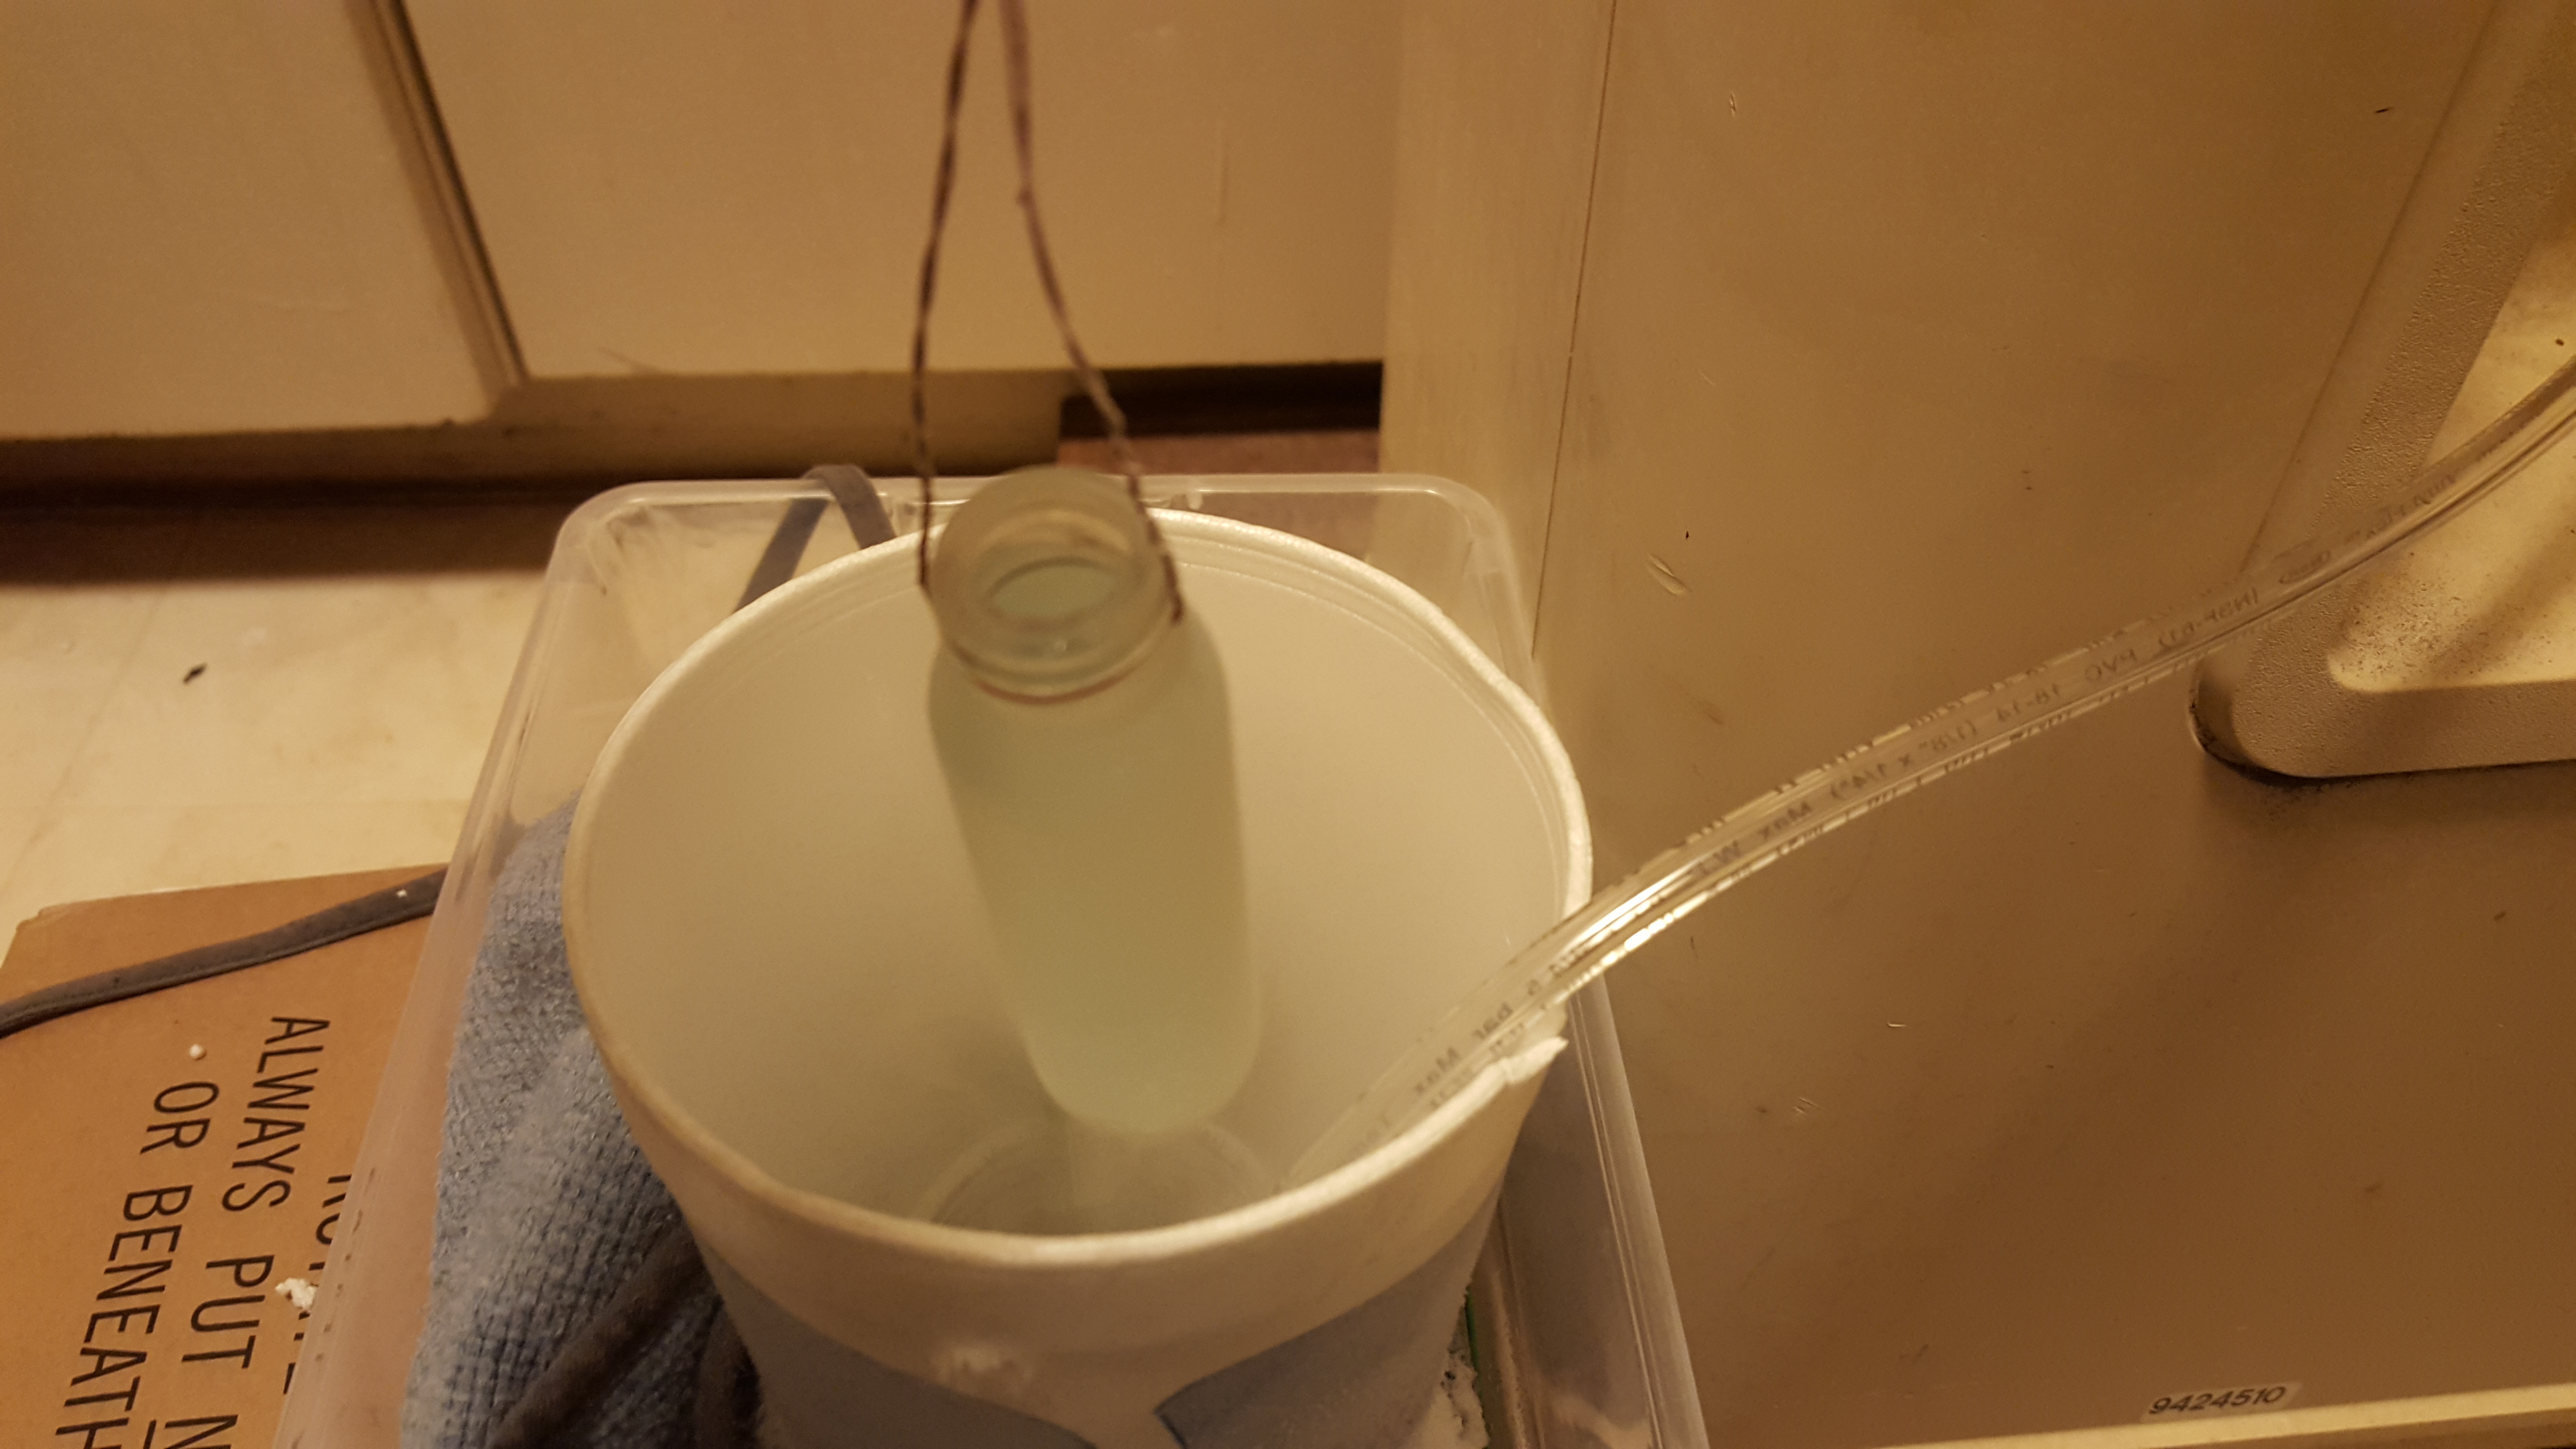
We also built an oxygen condenser and collected a bit of magnetic liquid oxygen by running some oxygen through a tube submerged in liquid nitrogen.
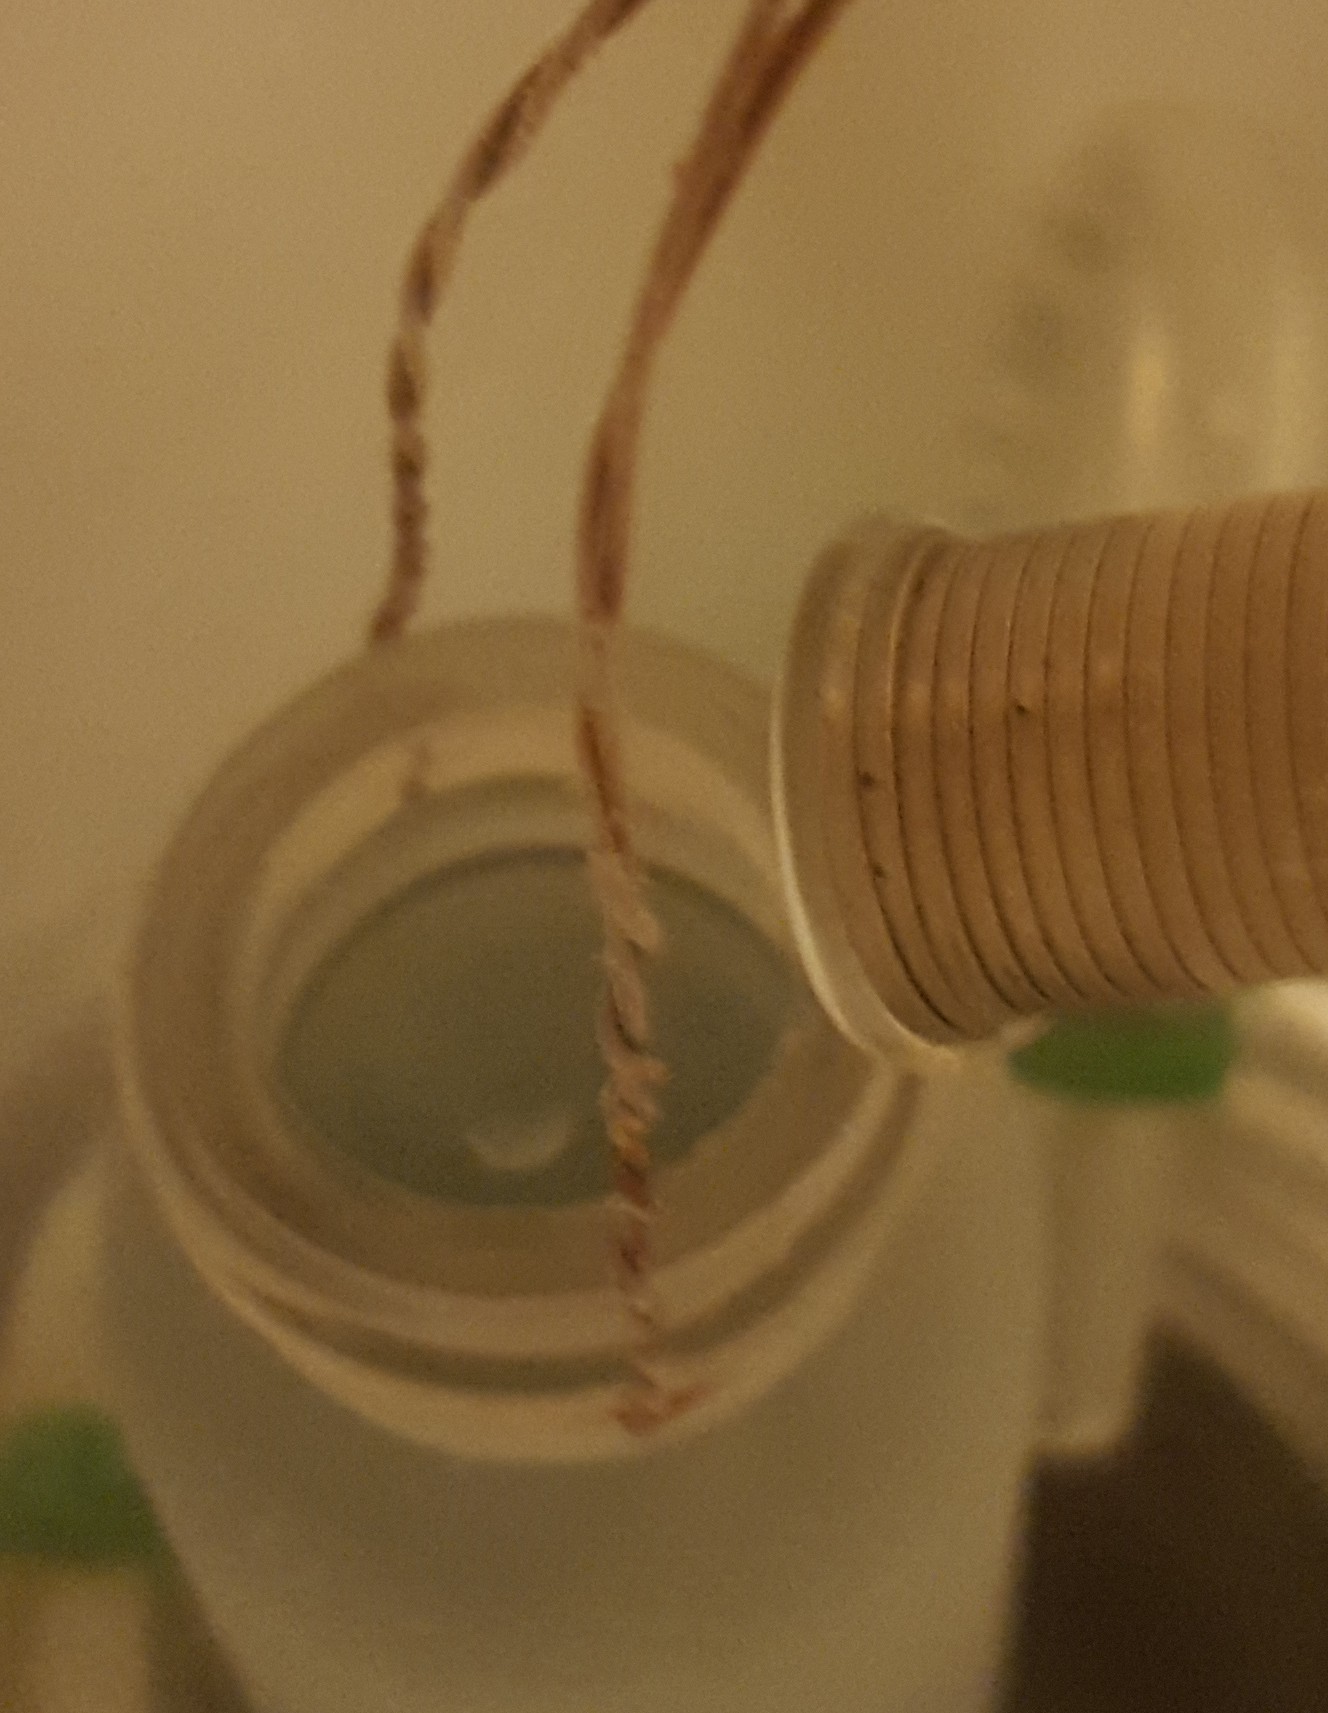
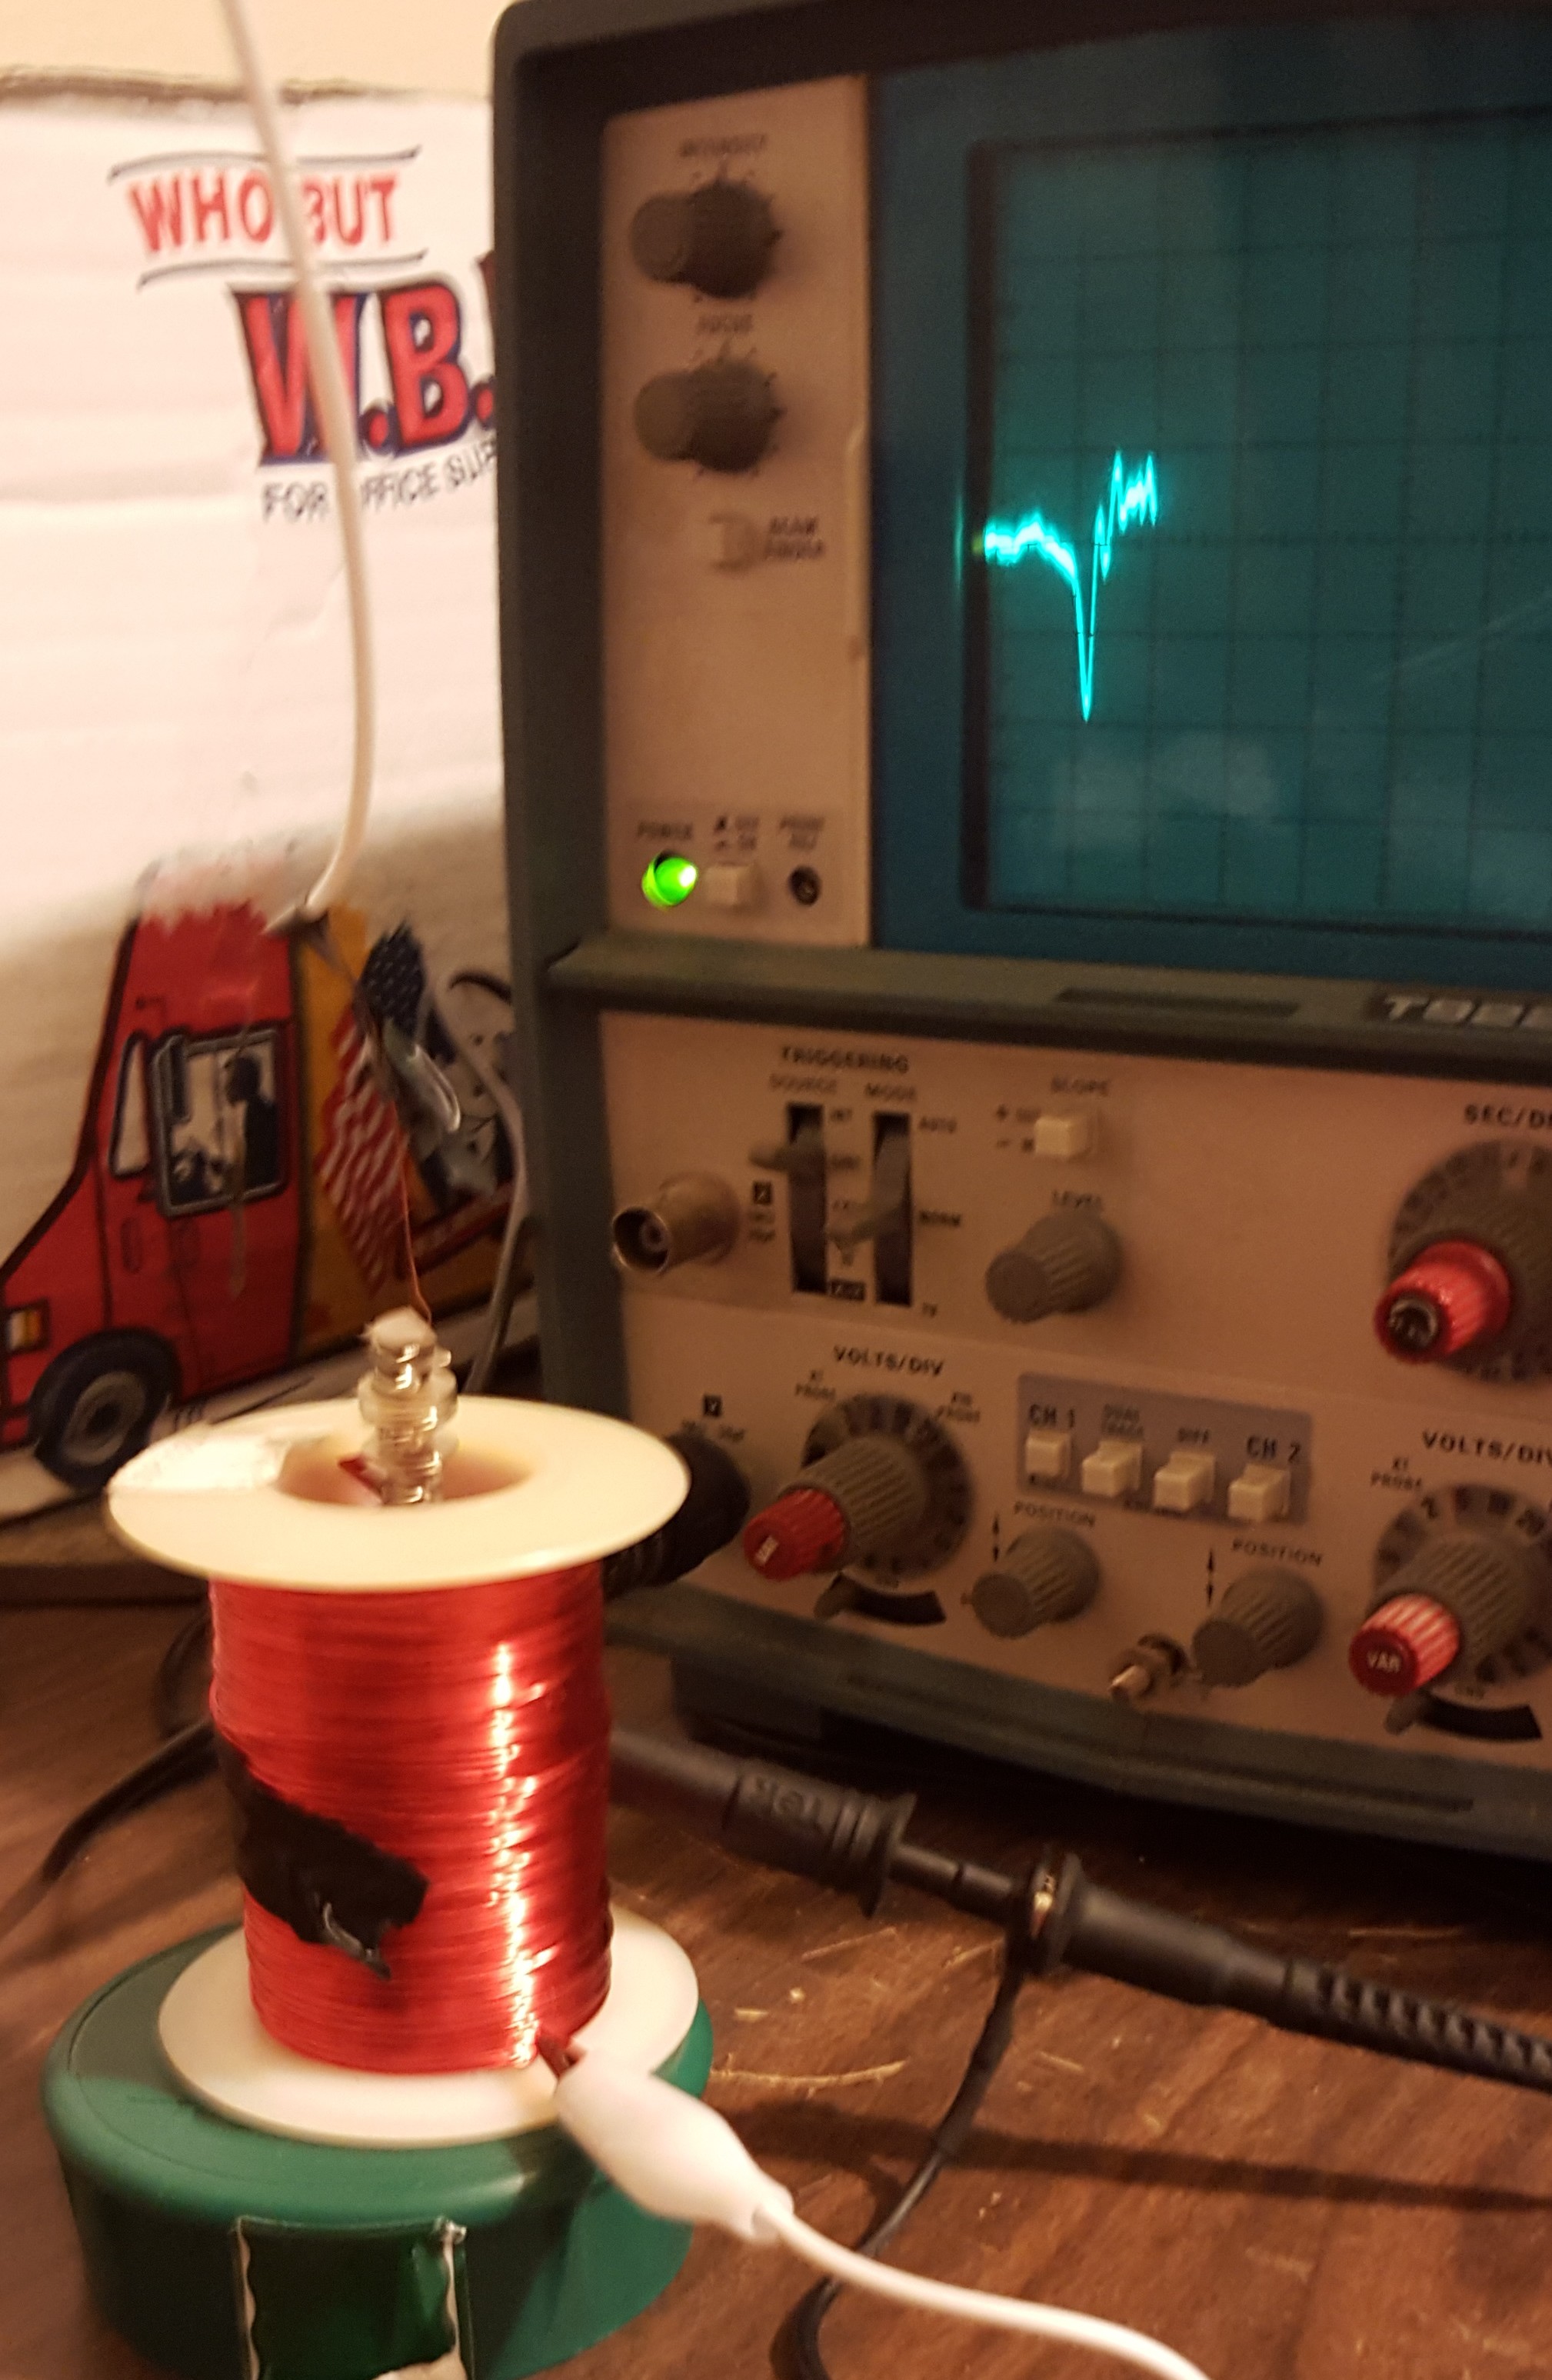
And did you know you can detect vibrations with a coil of wire, some magnets, something stretchy and an oscilloscope?
What kind of things will we be doing next?